Setup Guide
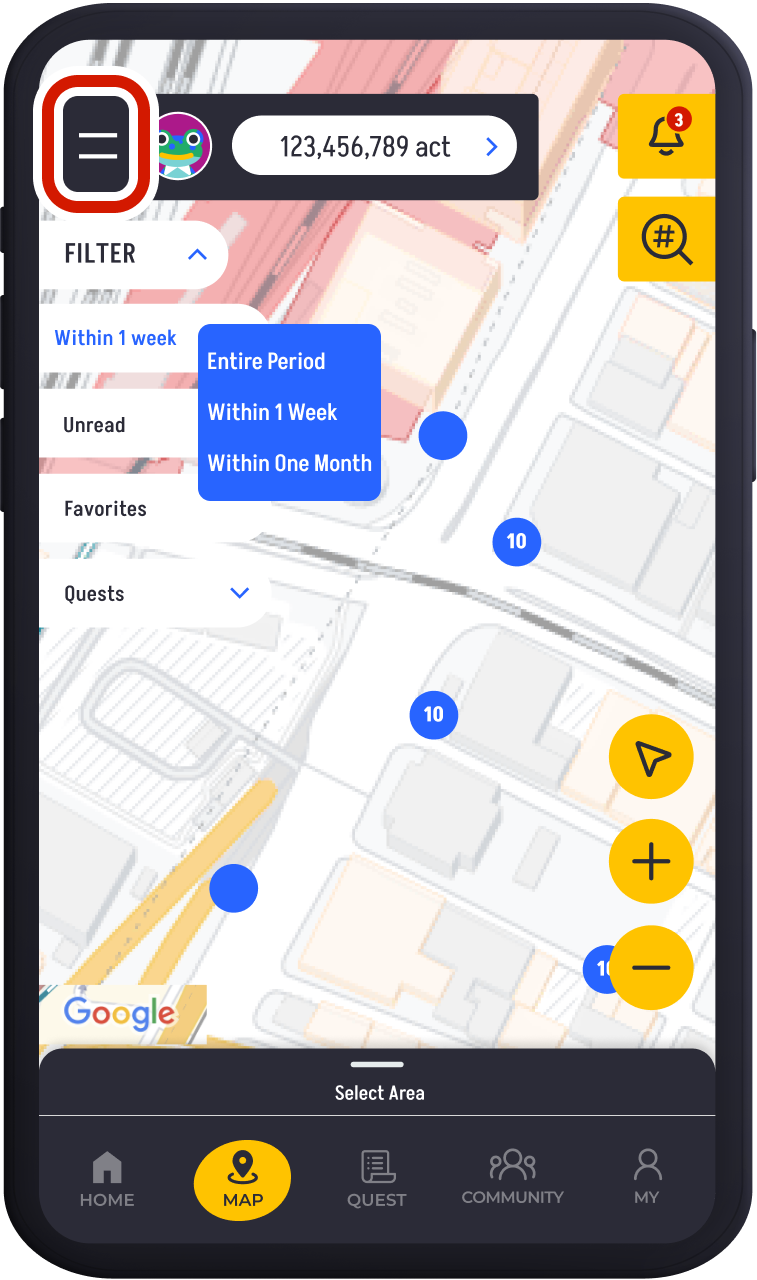
Tap the menu icon (≡) in the top-left corner.
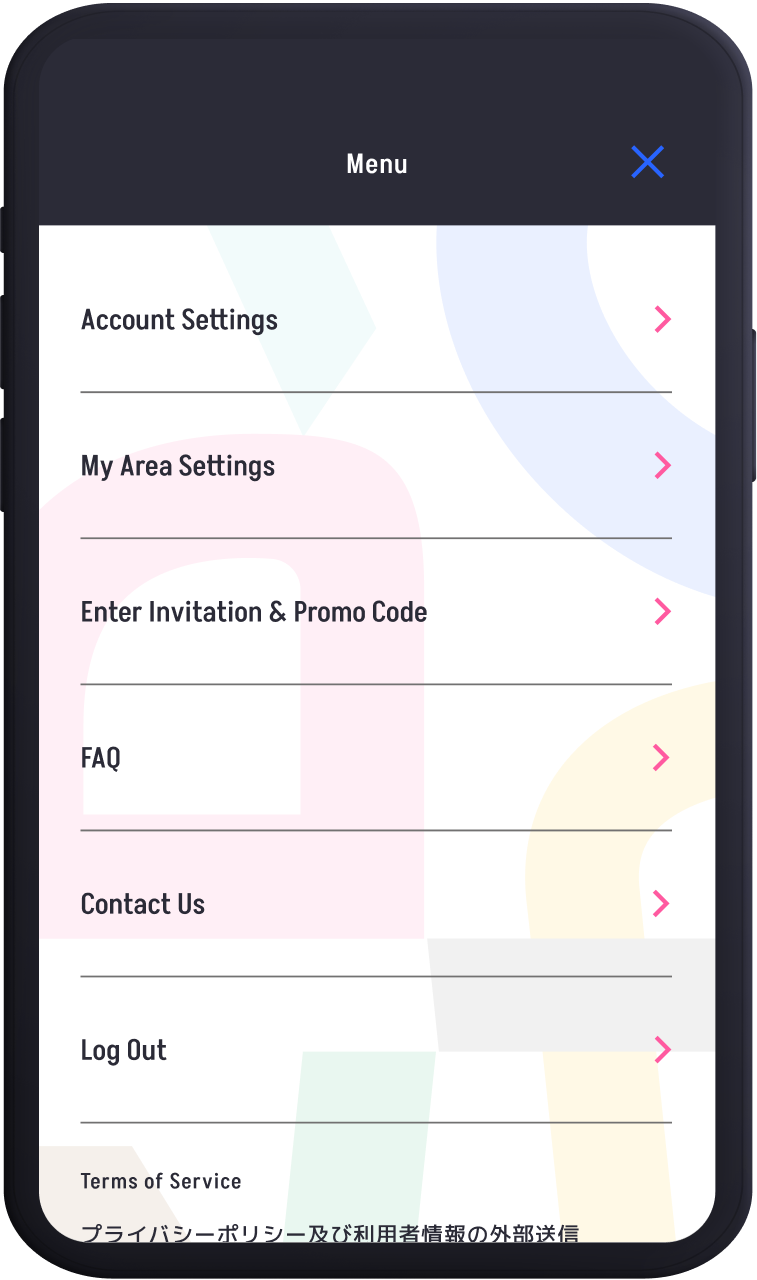
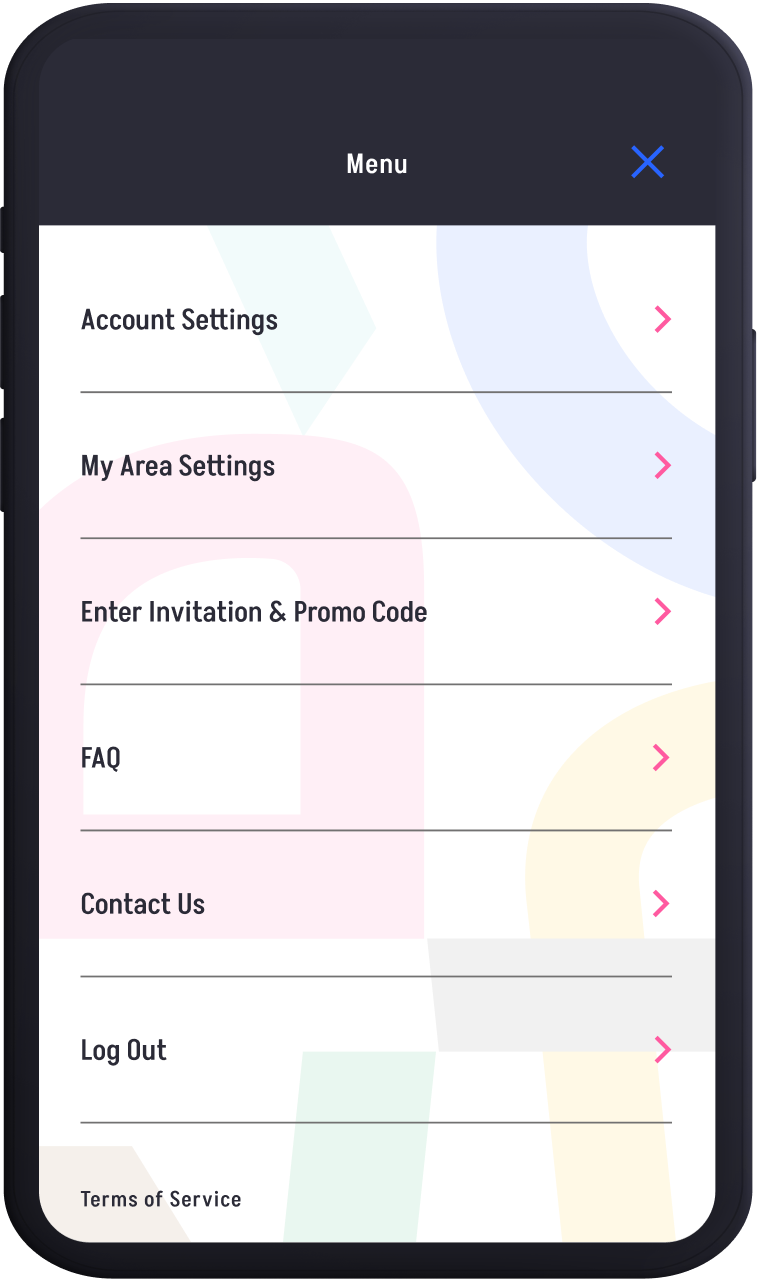
You can configure app-related settings, contact us for support, and review terms and conditions.
Updating Account Information
Go to "My Account Settings" to update the information set during installation or to configure more detailed account information, such as your profile.
Tap on 'My Account Settings'.
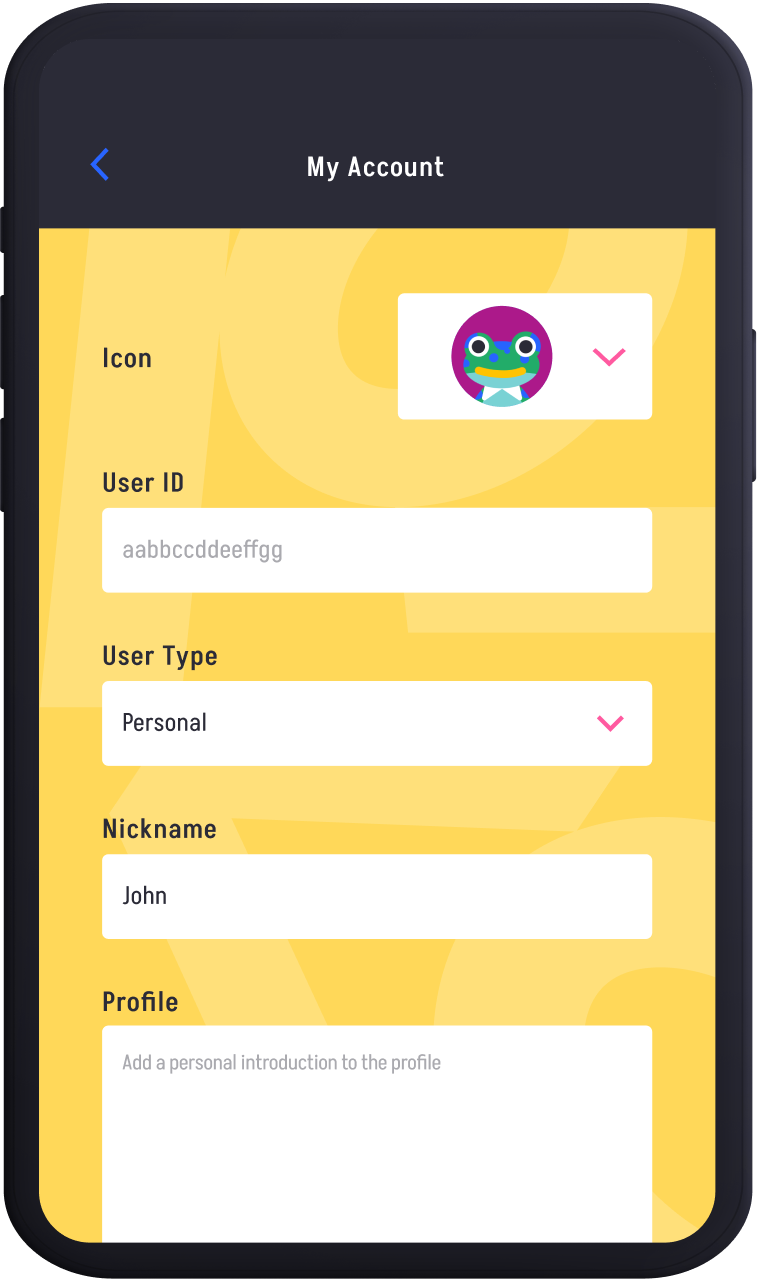
Set up your account information. You can set your User type, Nickname, Profile, Gender, and Year of Birth.
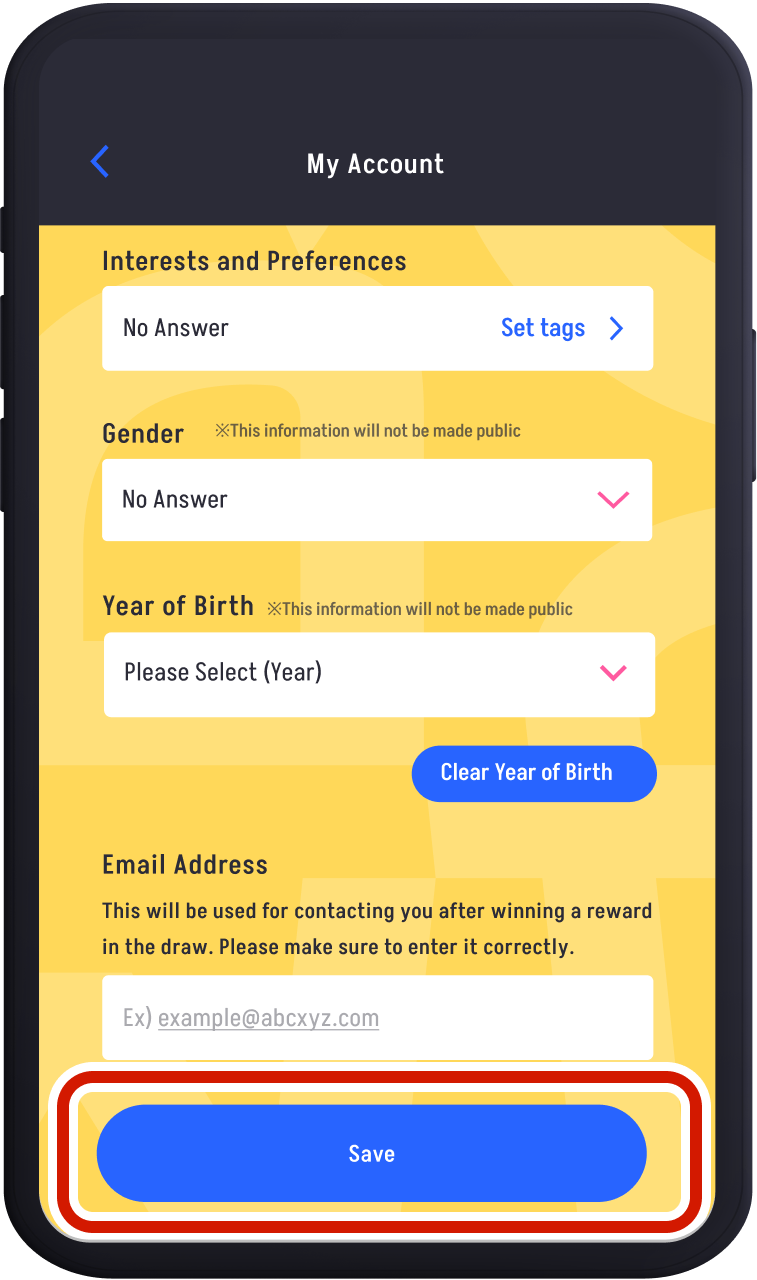
Once the settings are complete, tap'Save'. This will finalize your settings.
Selecting Support Communities
You can set up support communities where you can contribute through your activities. You can change the supporting communities at any time.
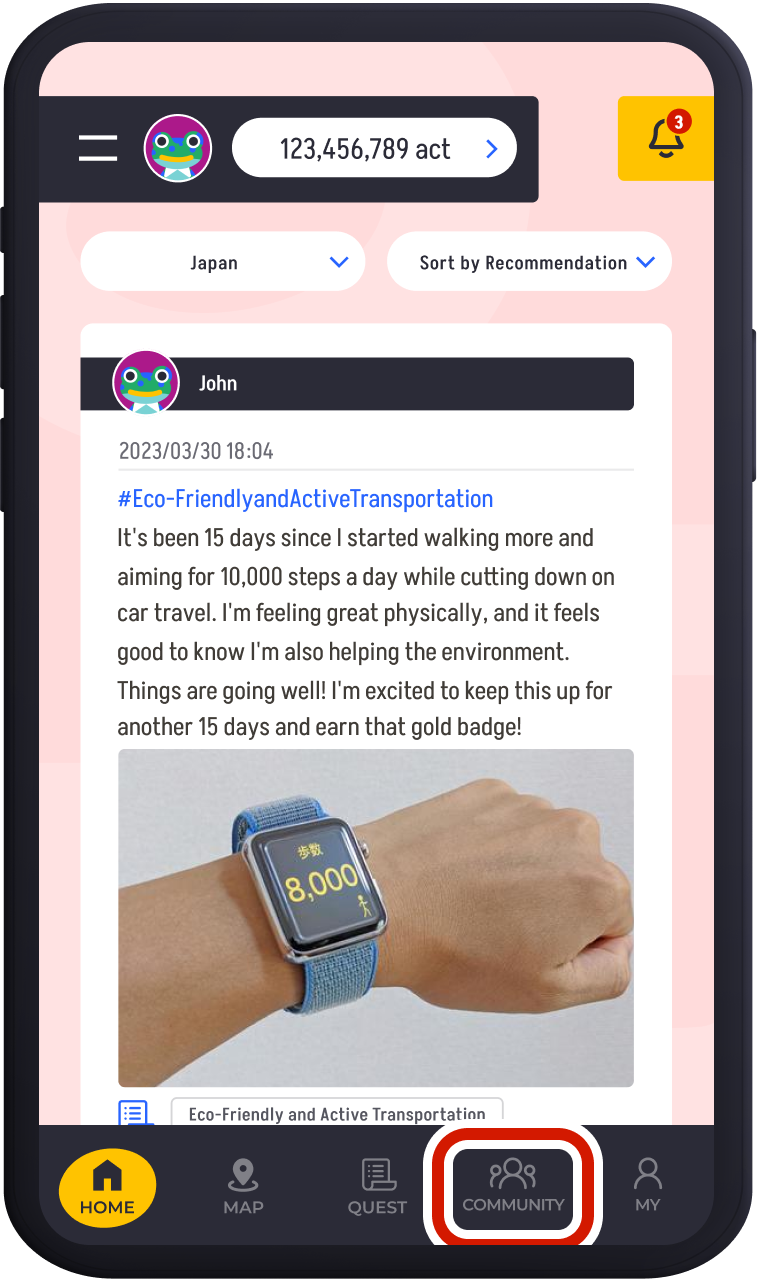
Tap "COMMUNITY" in the bottom footer.
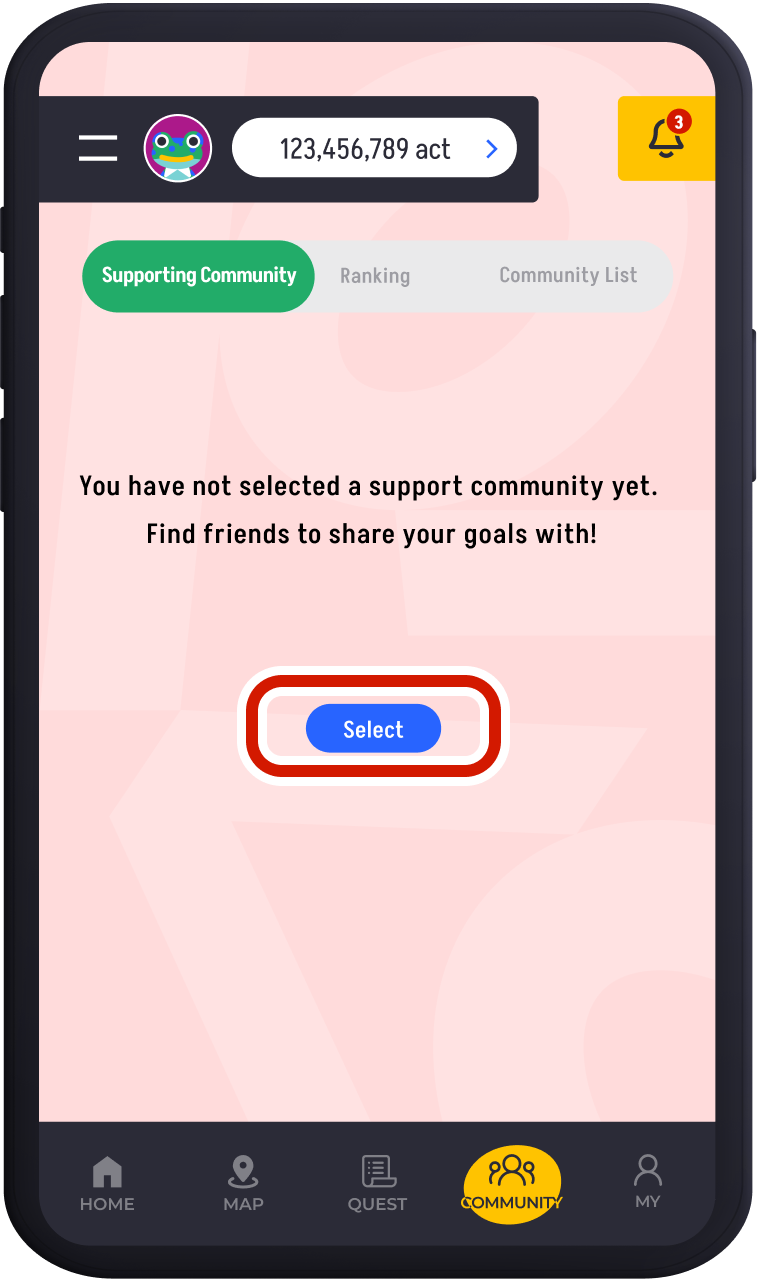
If you don’t have any supporting community yet, tap "Select."

You can choose up to 3 communities. Once selected, tap "Save" to complete the setup.
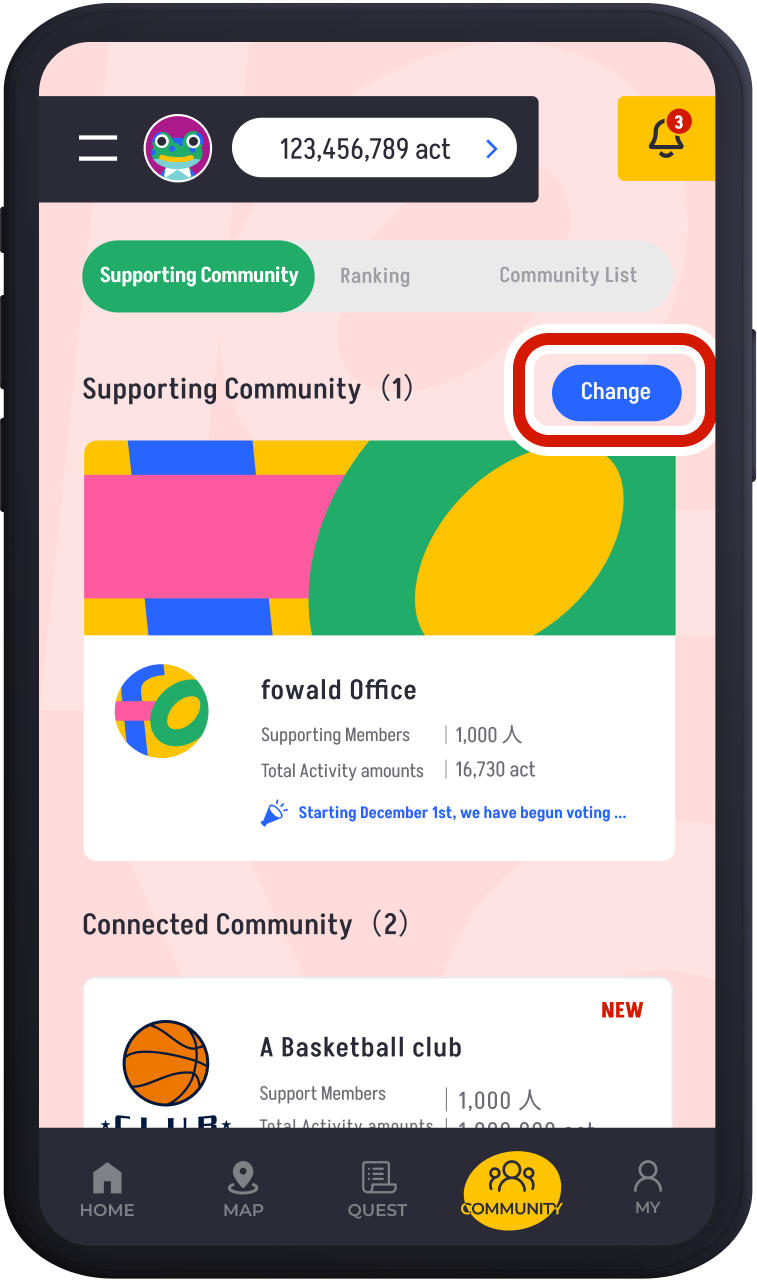
After the initial setup, you can change your supporting community by tapping "Change."
Posting to a Quest
Start by selecting a quest that interests you or one you can easily post to from the quest list.Tap “QUEST” in the bottom footer.
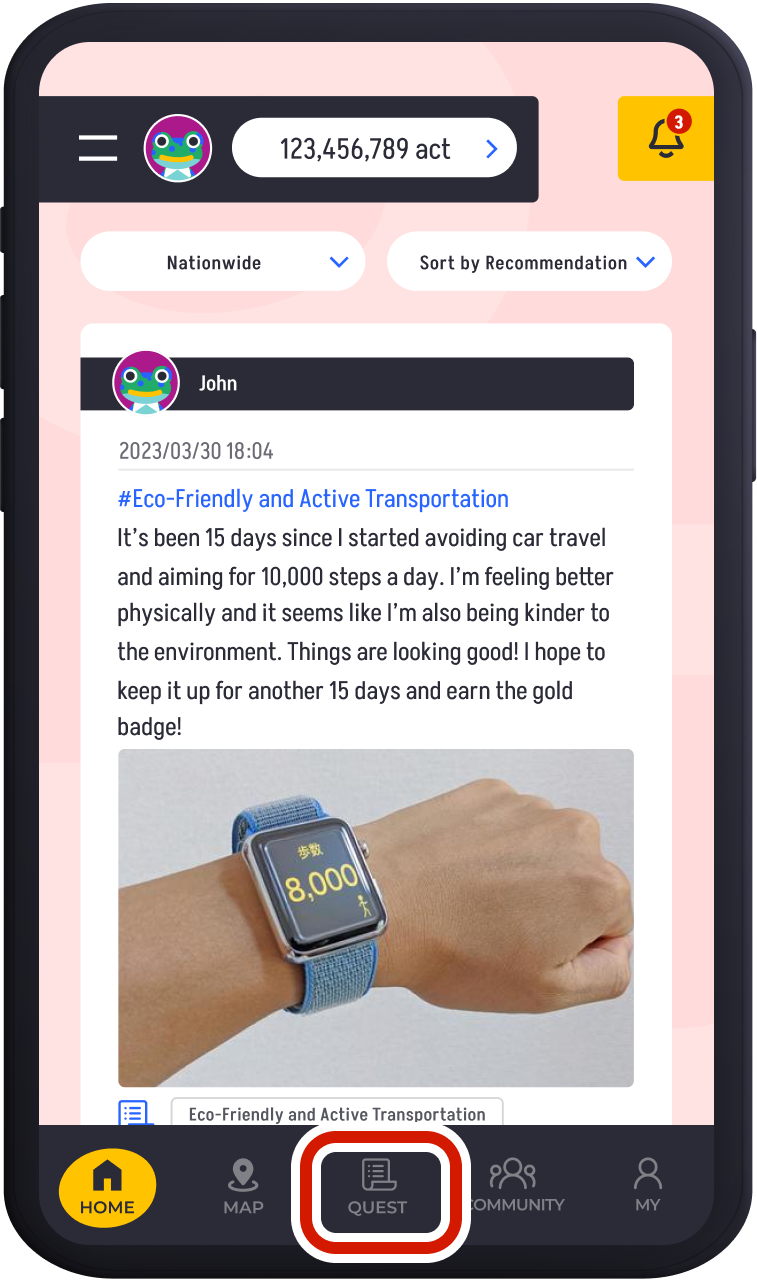
Tap “QUEST” in the bottom footer.
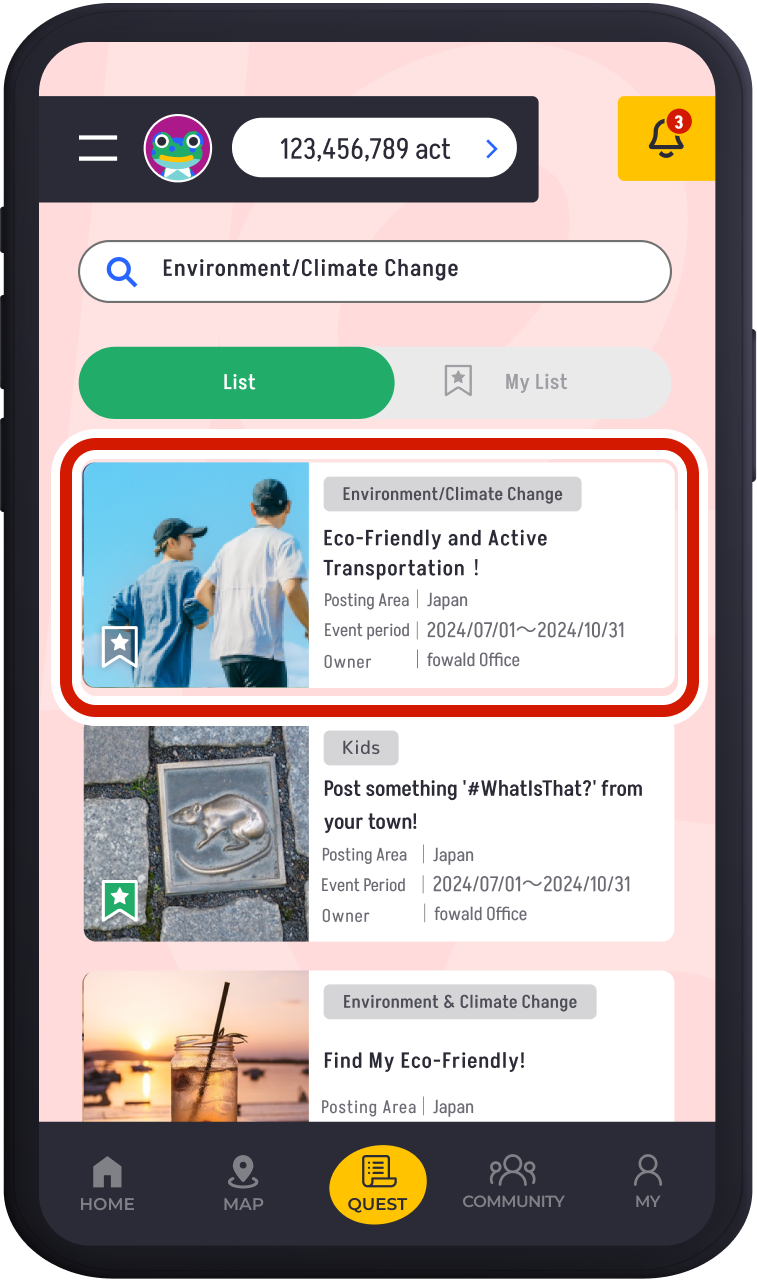
Choose the quest you want to post to.
Tap on the quest to view its details.
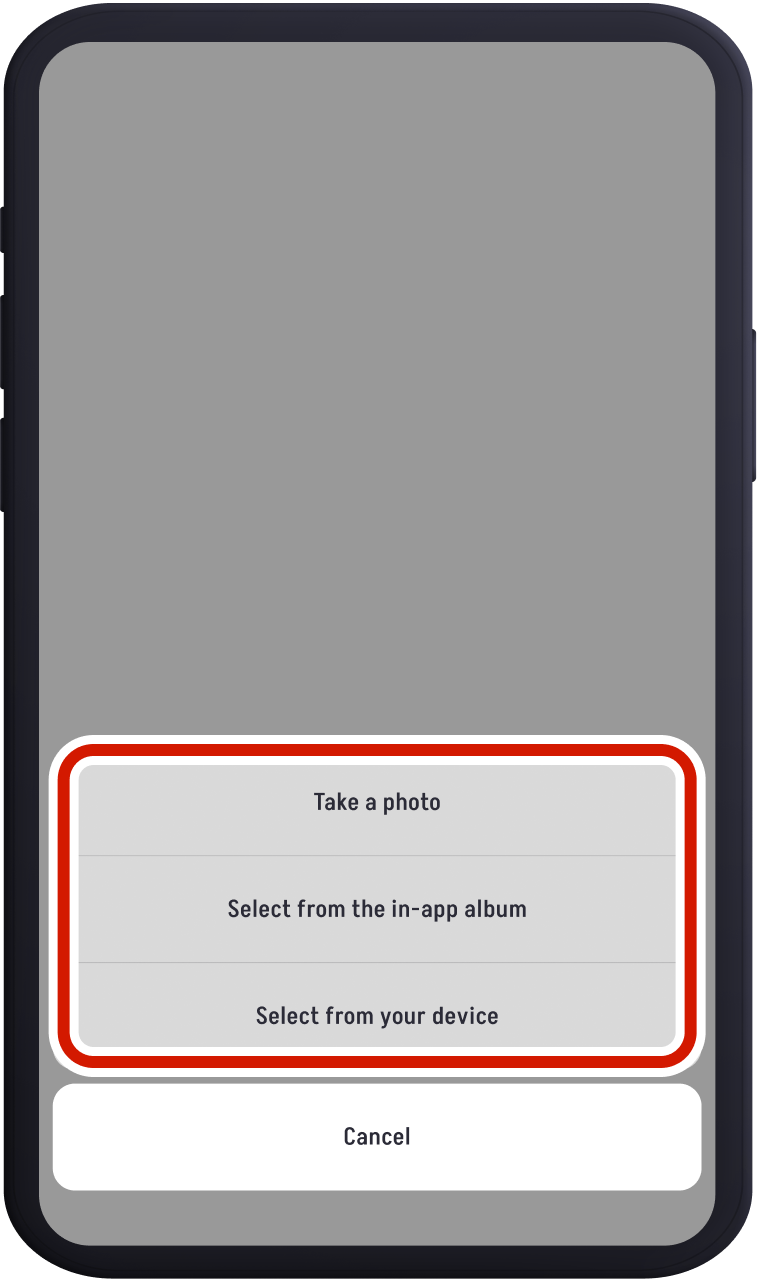
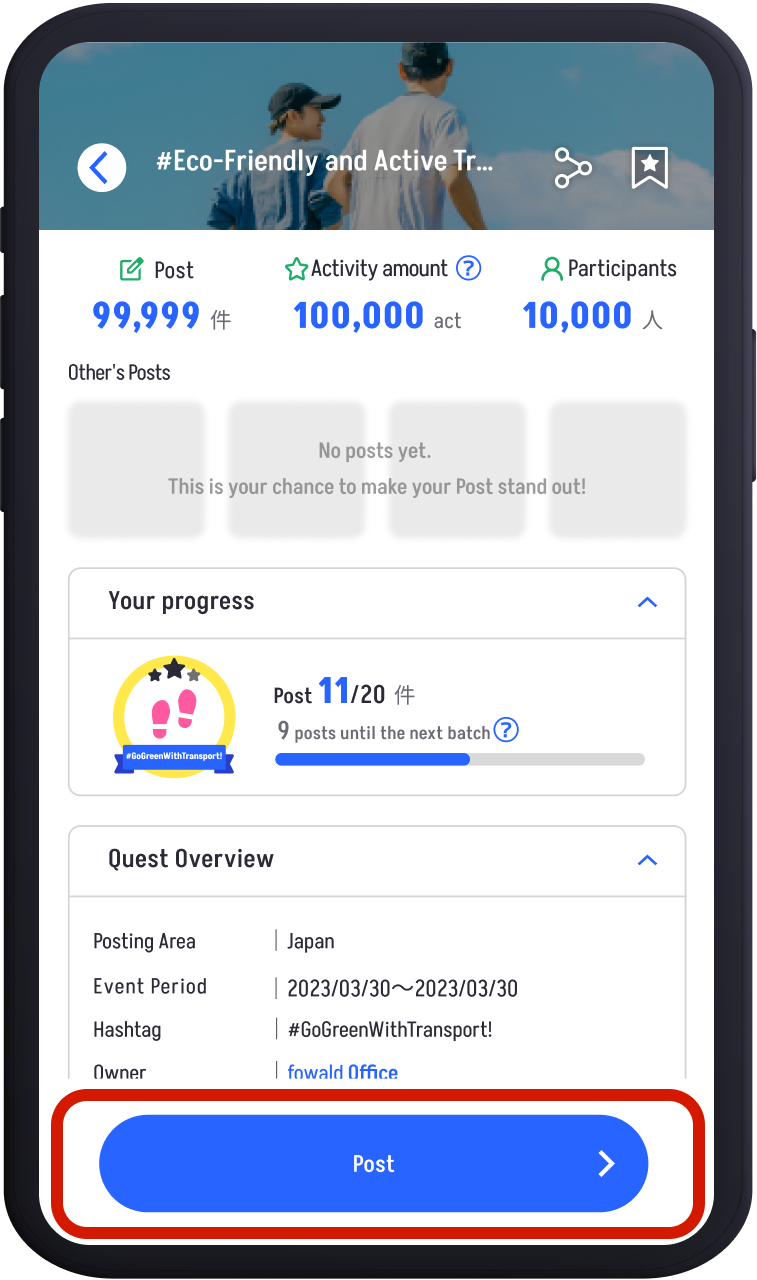
Tap the “Post” and select your preferred posting method.
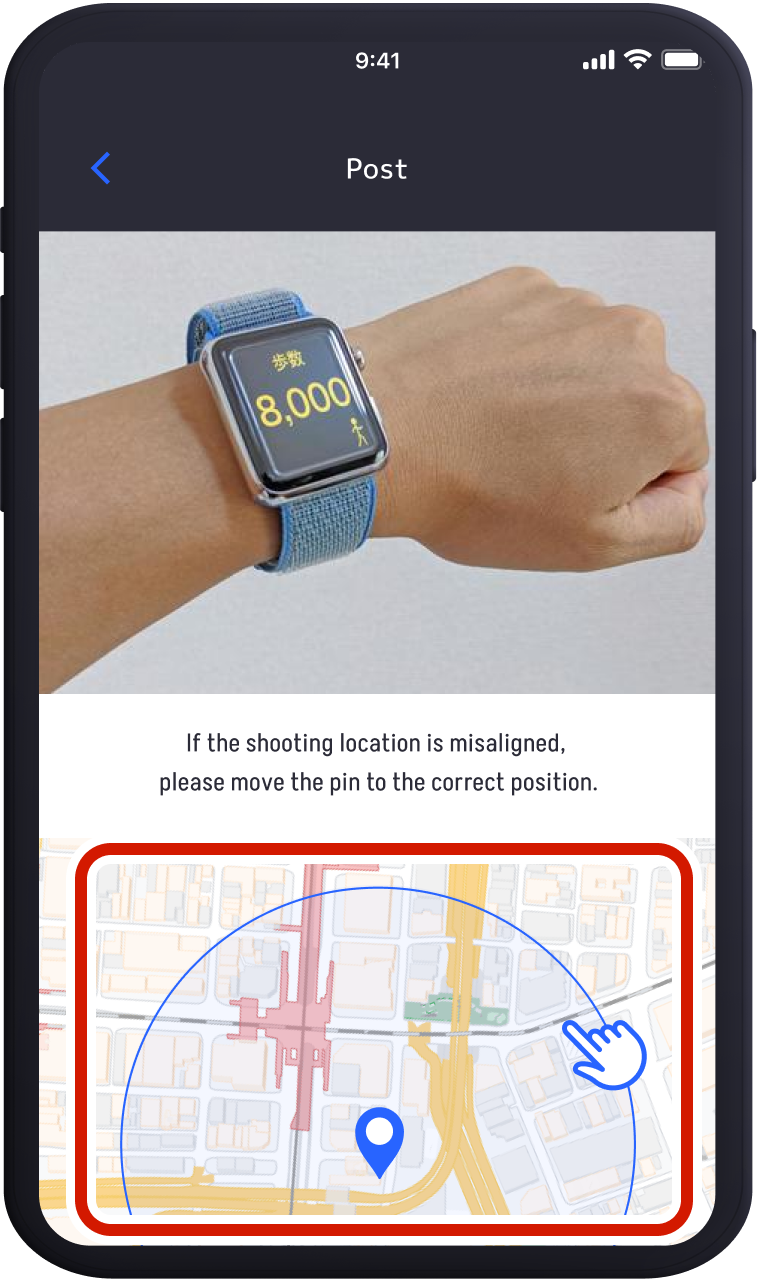
For quests requiring location information, set the correct location. This will be reflected on the “MAP.”
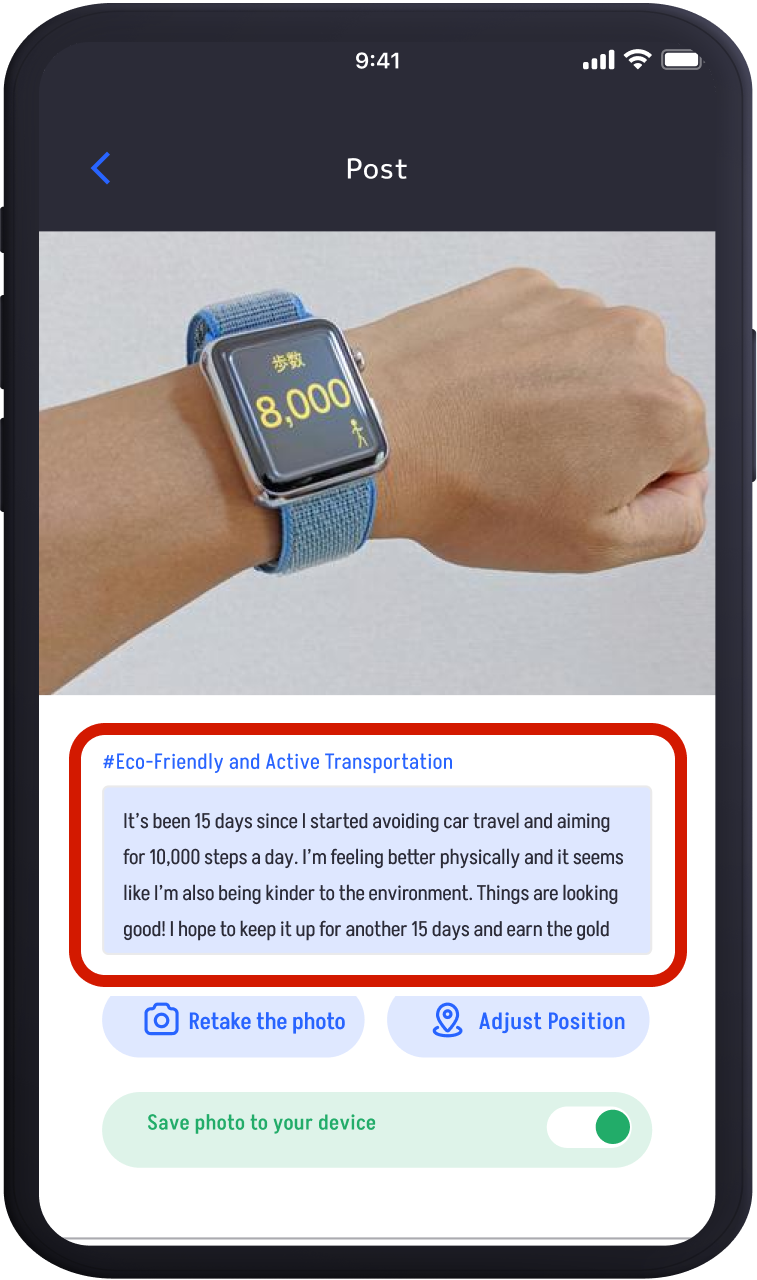
Enter your content in the comment input field.
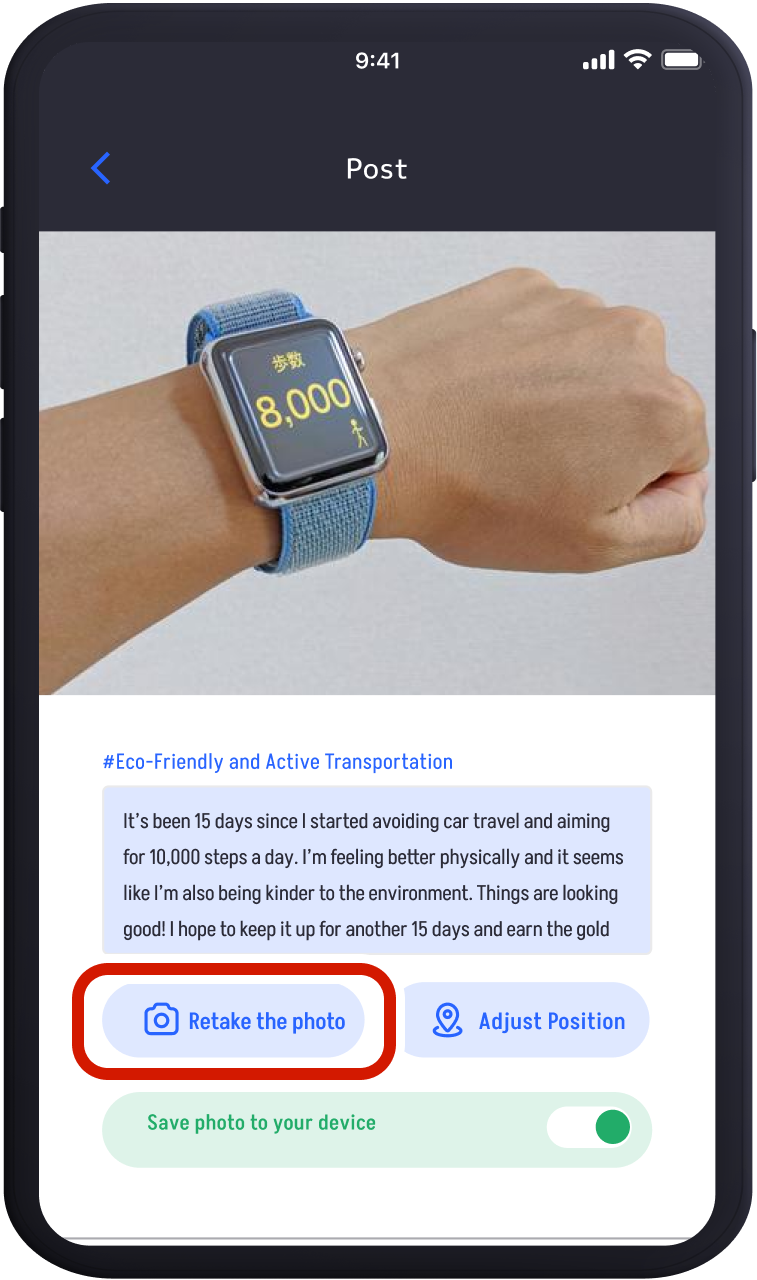
If needed, tap “Retake the photo” to capture a new picture.
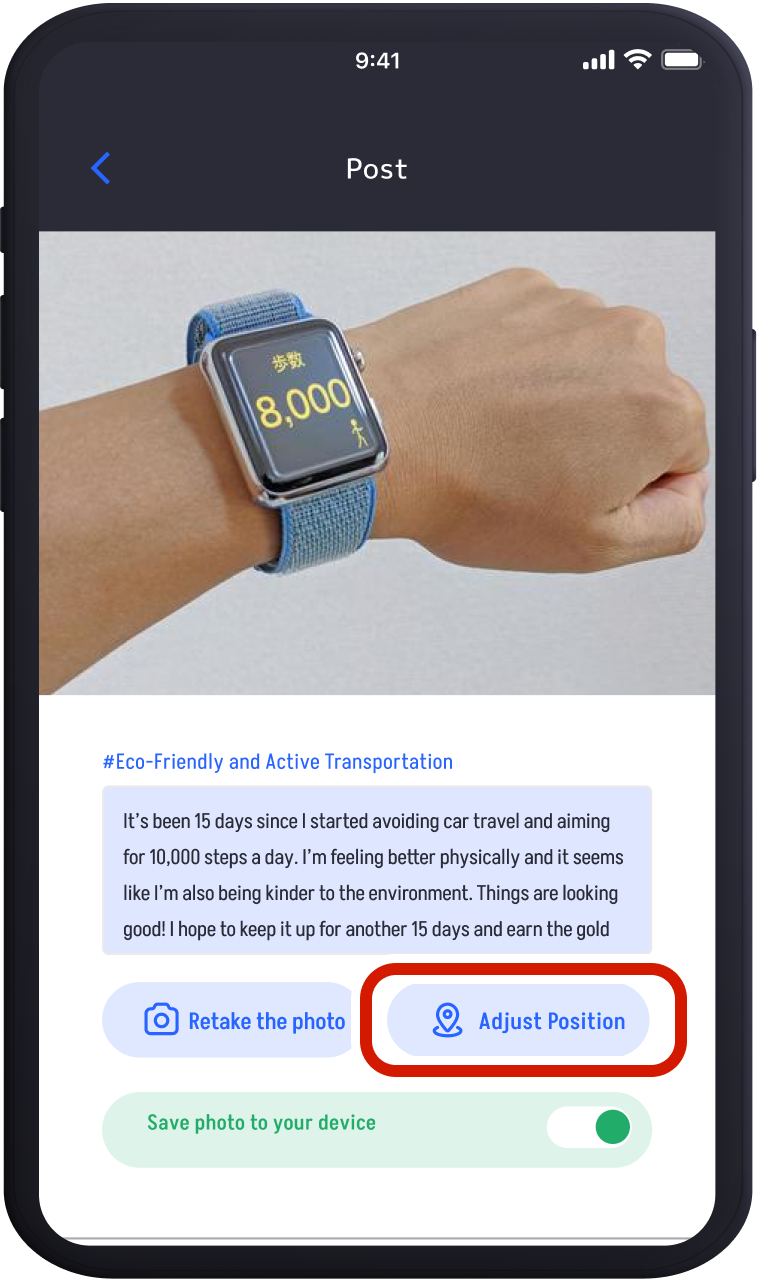
Tap “Adjust Location” to correct the location information of your posted photo.
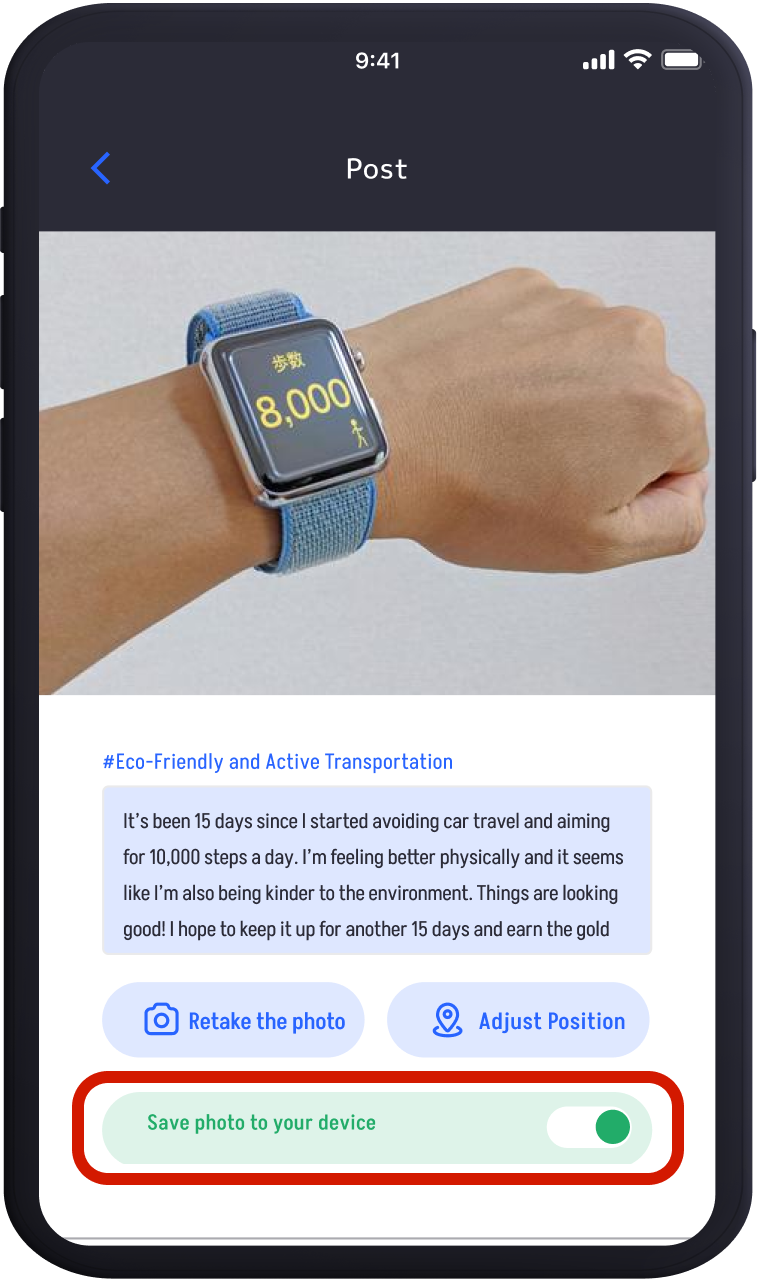
Tap “Save Photo to Device” to save the photo to your device
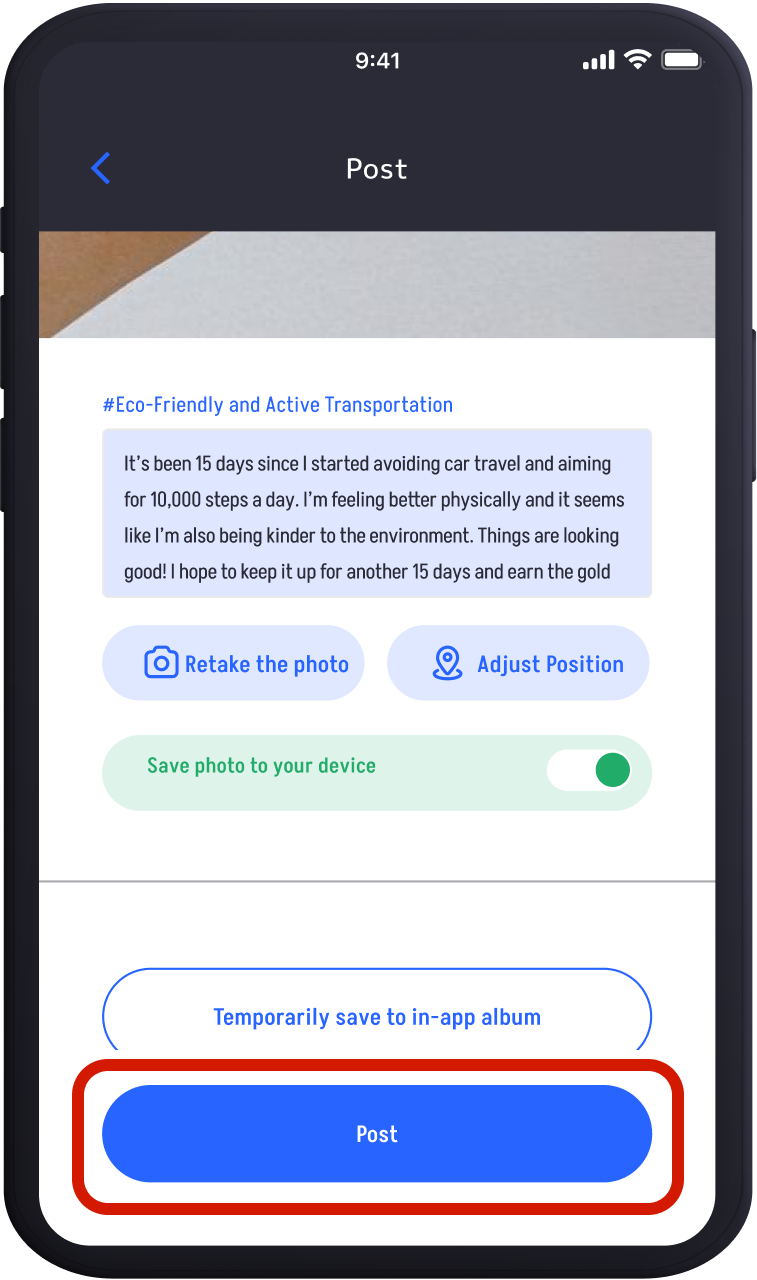
Tap “Post” to submit your entry to the quest.
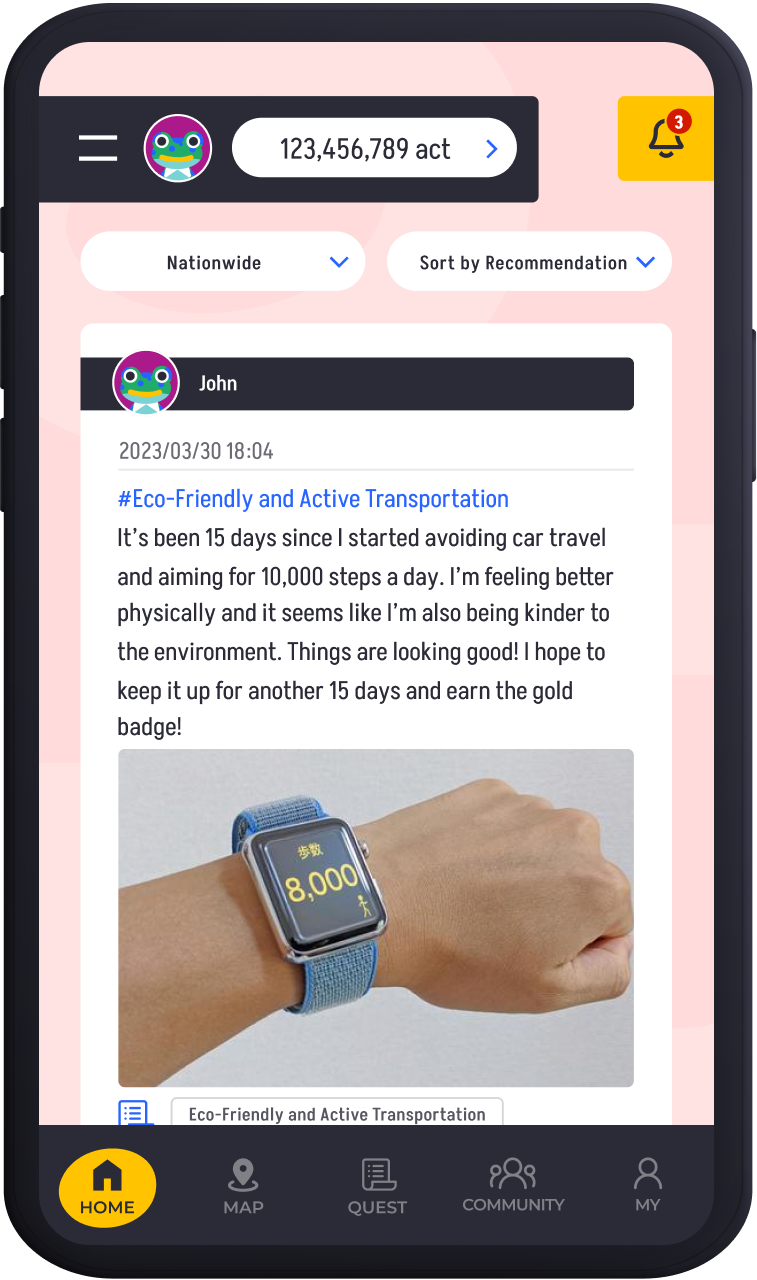
Your post appears on the timeline once submitted.
Posting to Spot Quest
A Spot Quest is a quest where only photos taken at specific locations can be posted. By selecting markers on the map, you can post the target object or view other people’s posts.

Tap "QUEST" in the bottom footer.
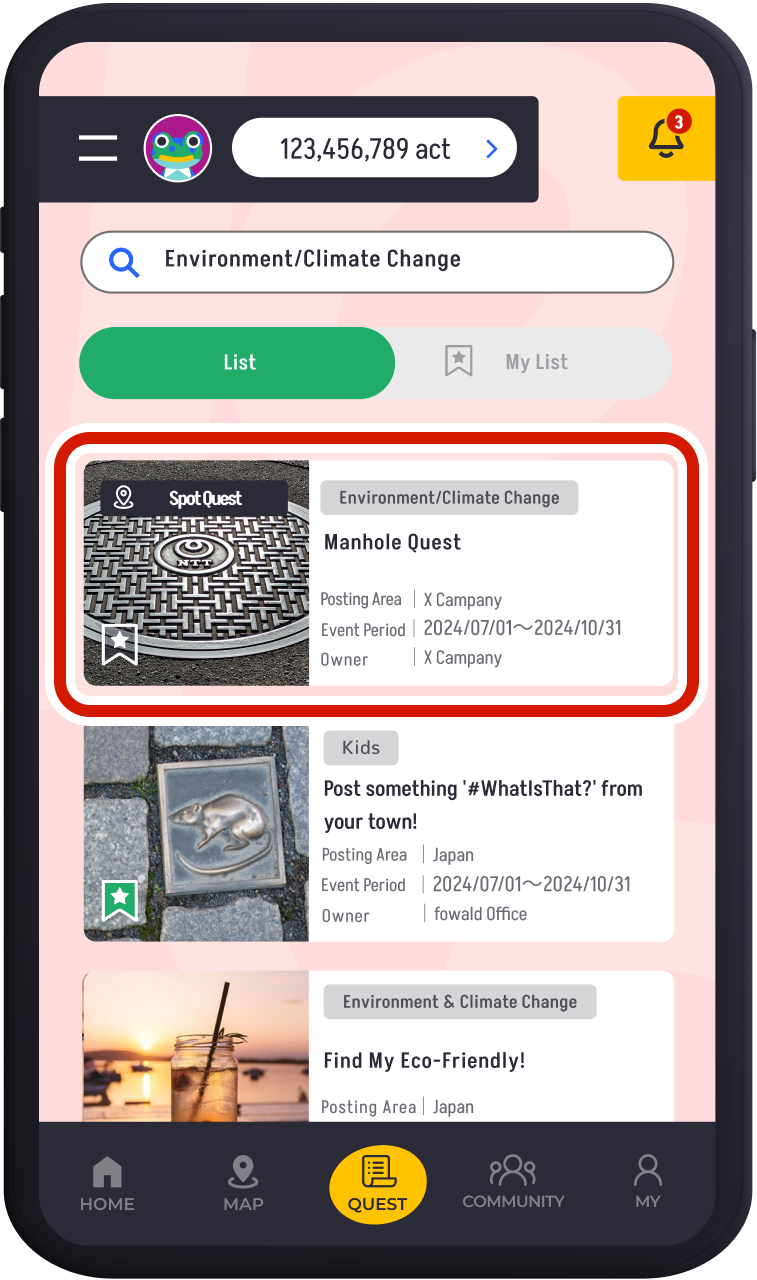
Select "Spot Quest."
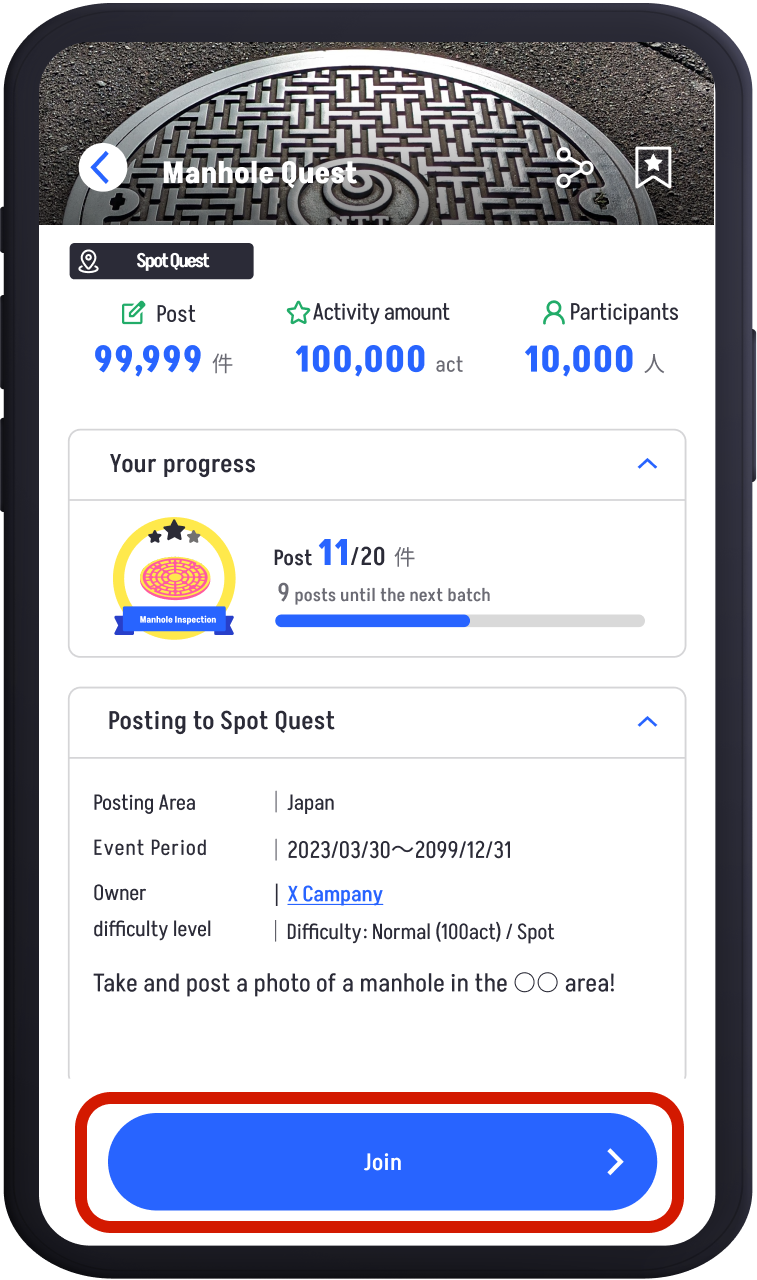
The details of the Spot Quest will be displayed. Review the details and tap "Join."
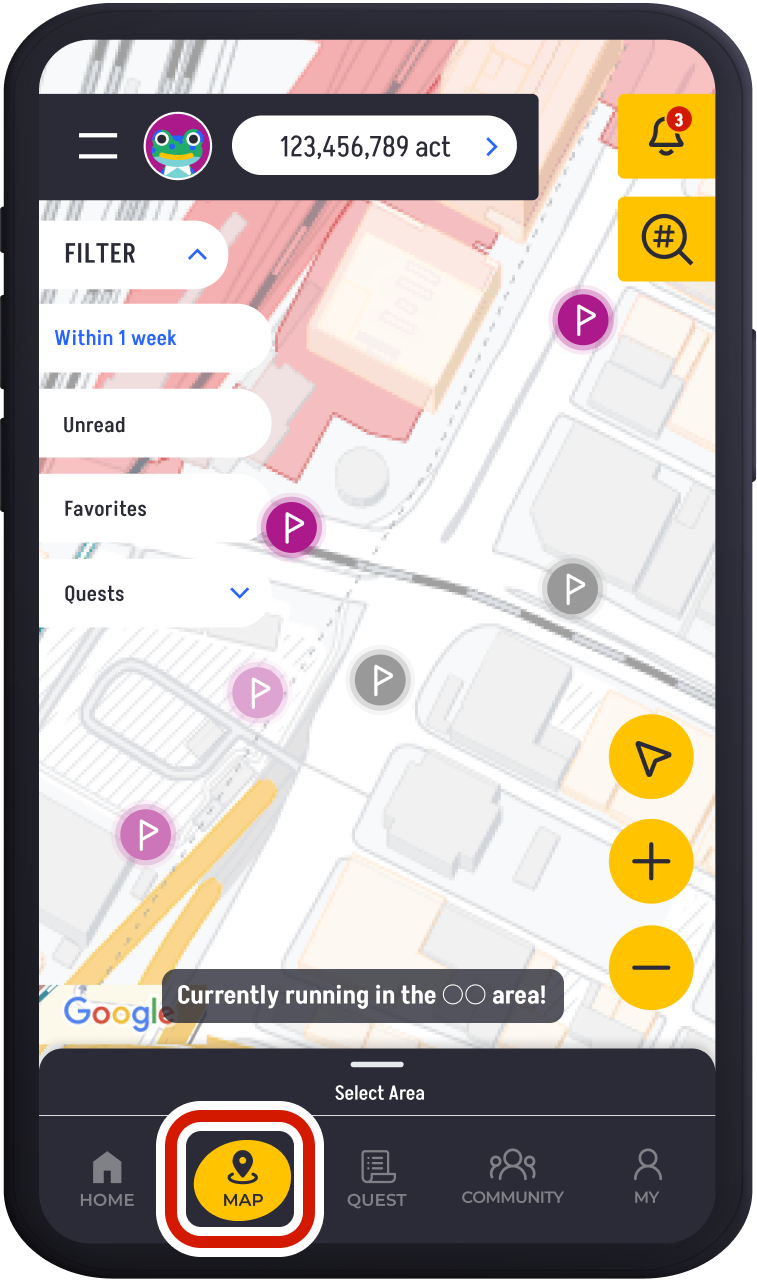
Tap "MAP" in the bottom footer (it will automatically displayed the first time).
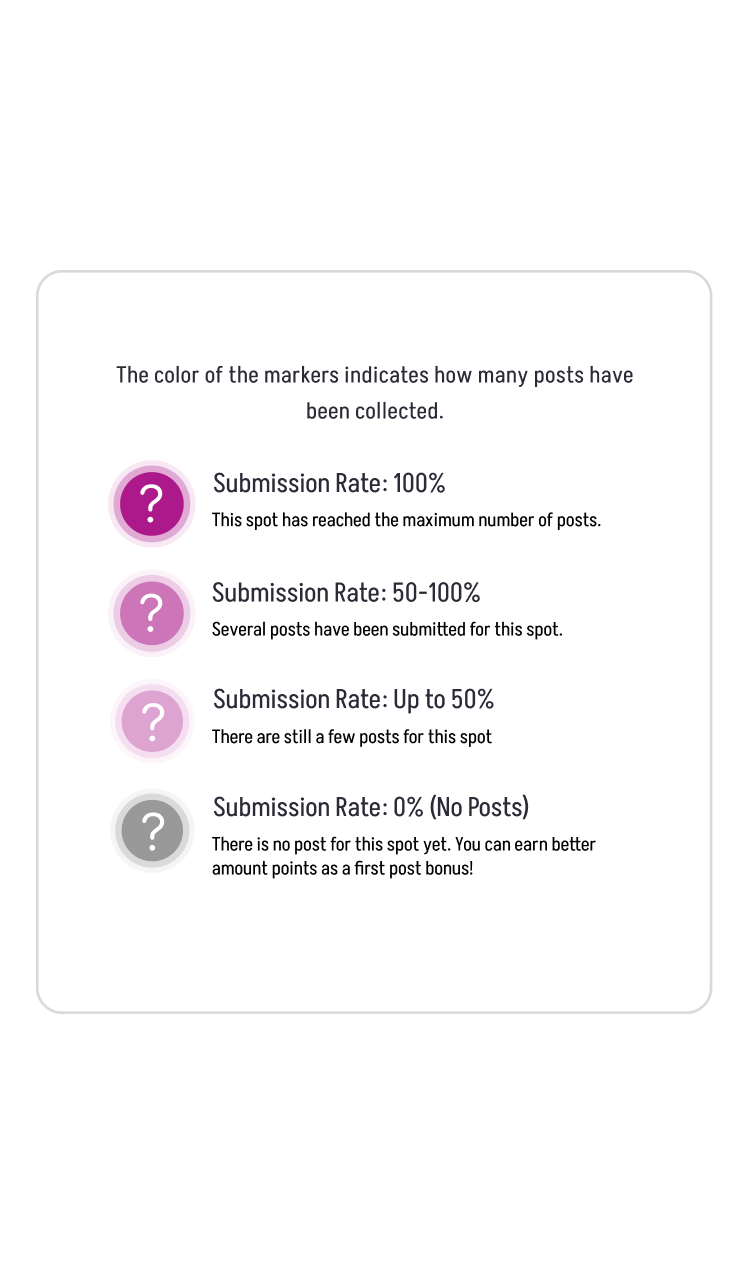
On the "MAP," the color of each marker shows how many posts have been made compared to the total allowed for that location. The legend at the top explains the colors.
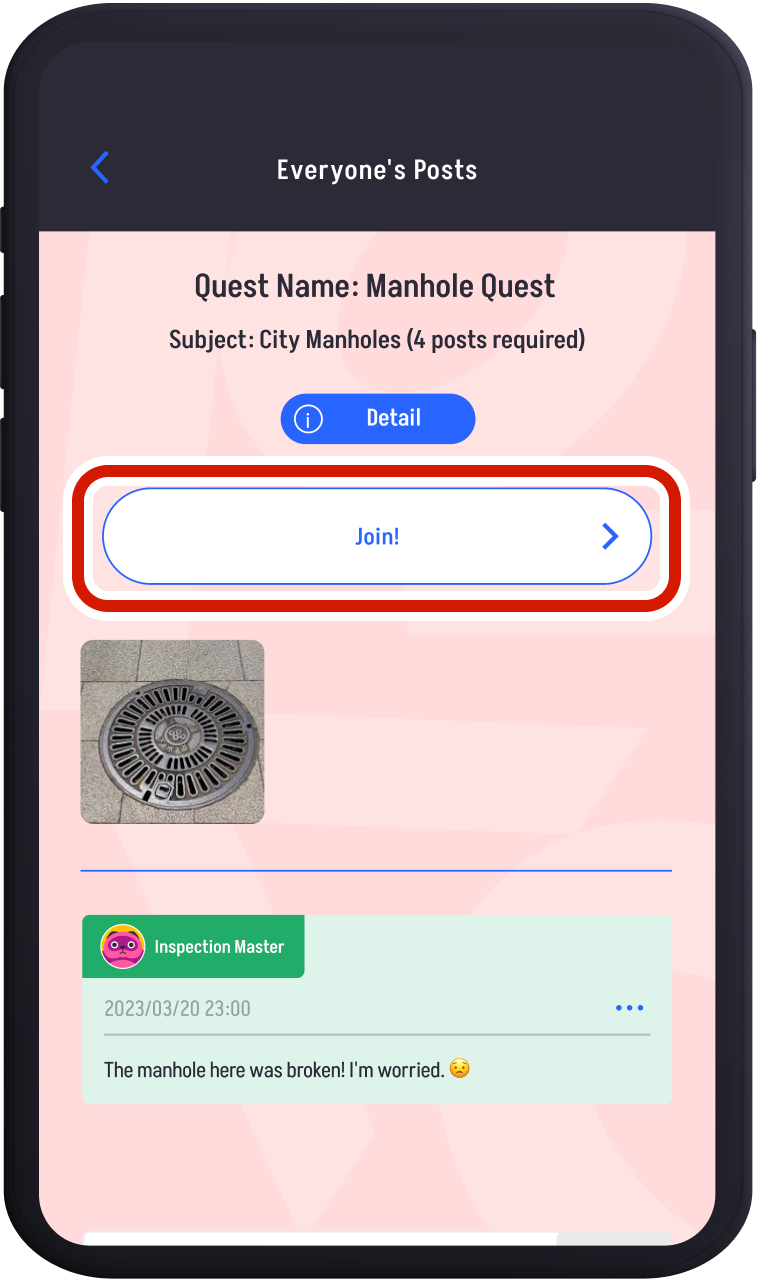
The color of the markers on the "MAP" will vary depending on the percentage of posts at that location. The legend is displayed above. Tapping a marker on the "MAP" allows you to see "Everyone's Posts." Tapping "Detail" shows you how to submit to that quest. Tap "Join!" to make a post.
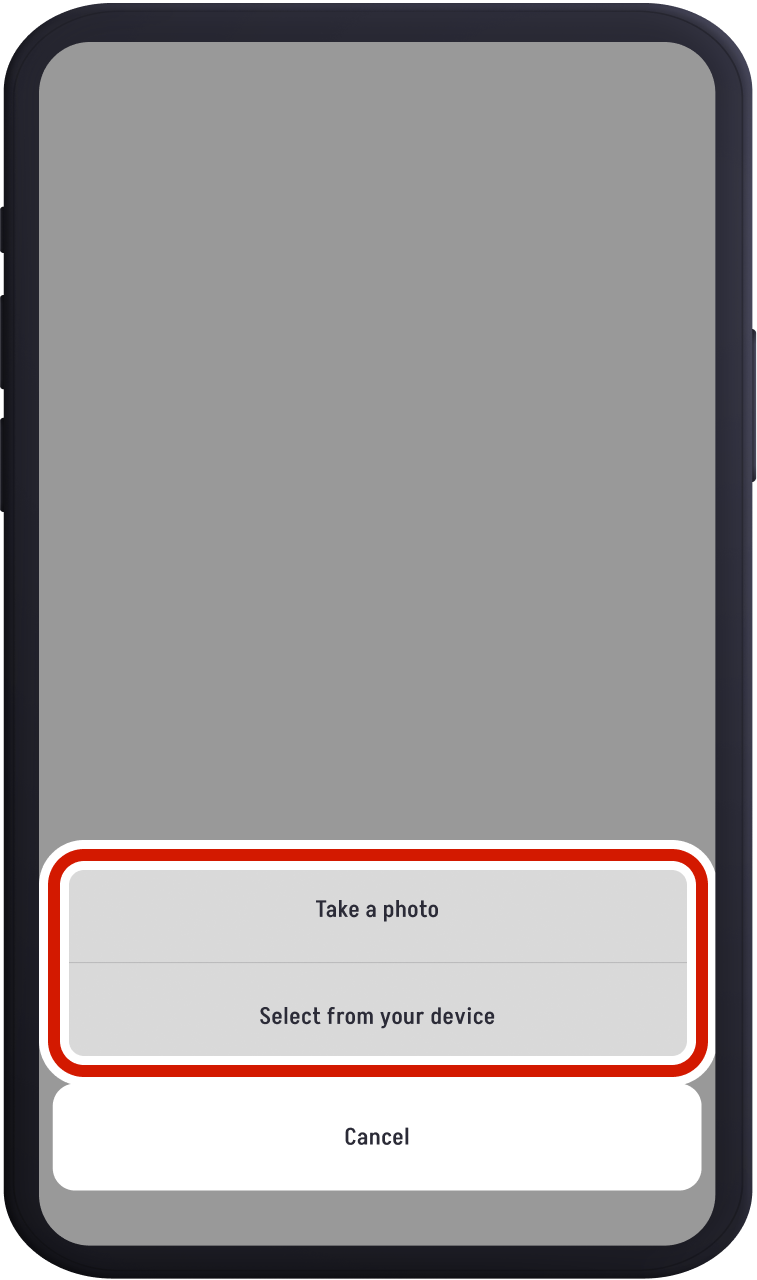
Choose your preferred posting method.
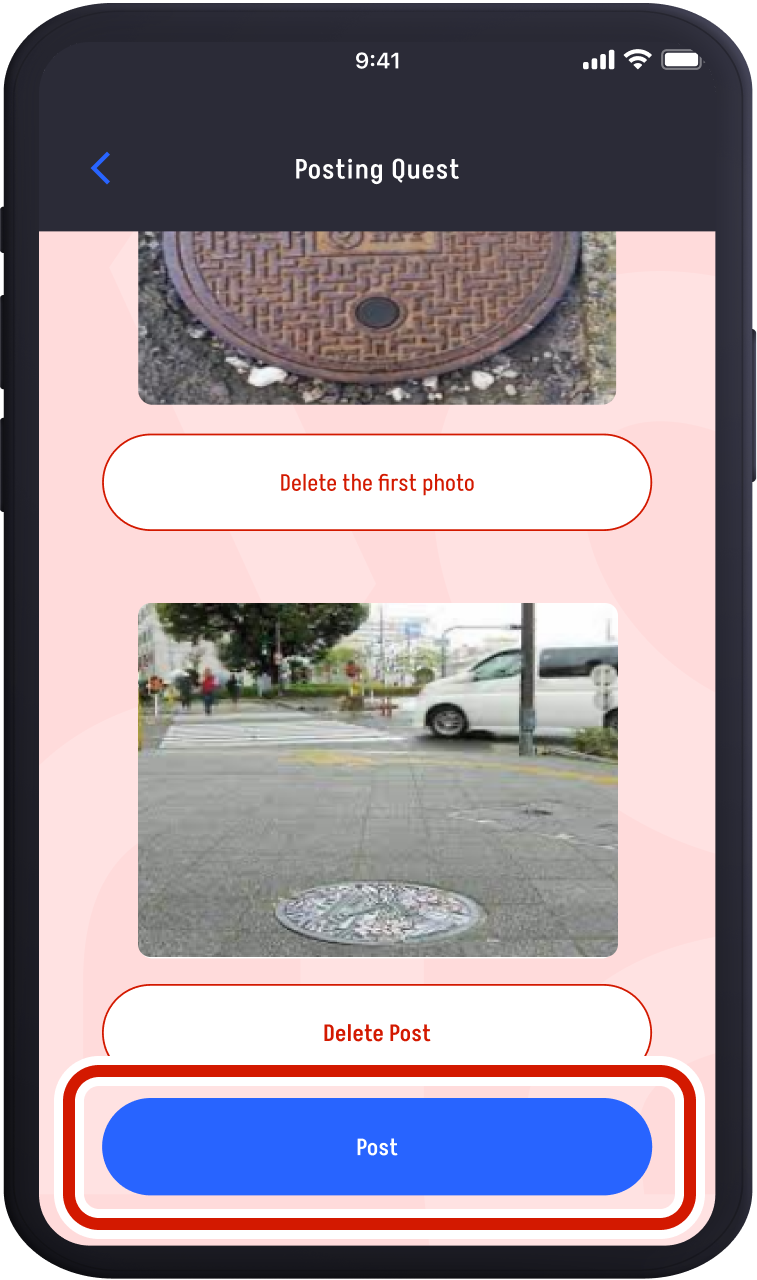
After taking or selecting the required number of photos, tap "Post" to submit them.
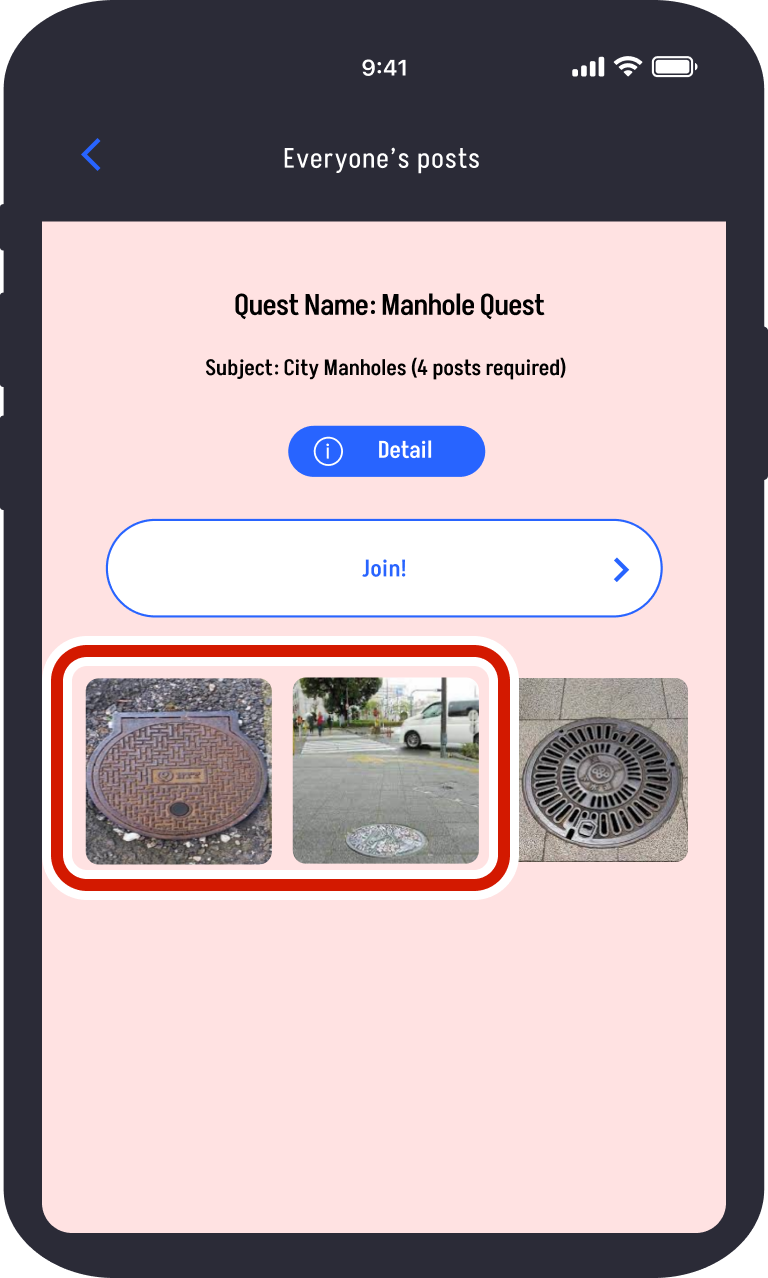
Once submitted, your photo will be displayed on the "Everyone's Posts" screen.
Viewing Everyone’s Posts
The "Timeline" displays posts from others in addition to your own. You can view and respond to each other’s posts.Tap “HOME” in the bottom footer.
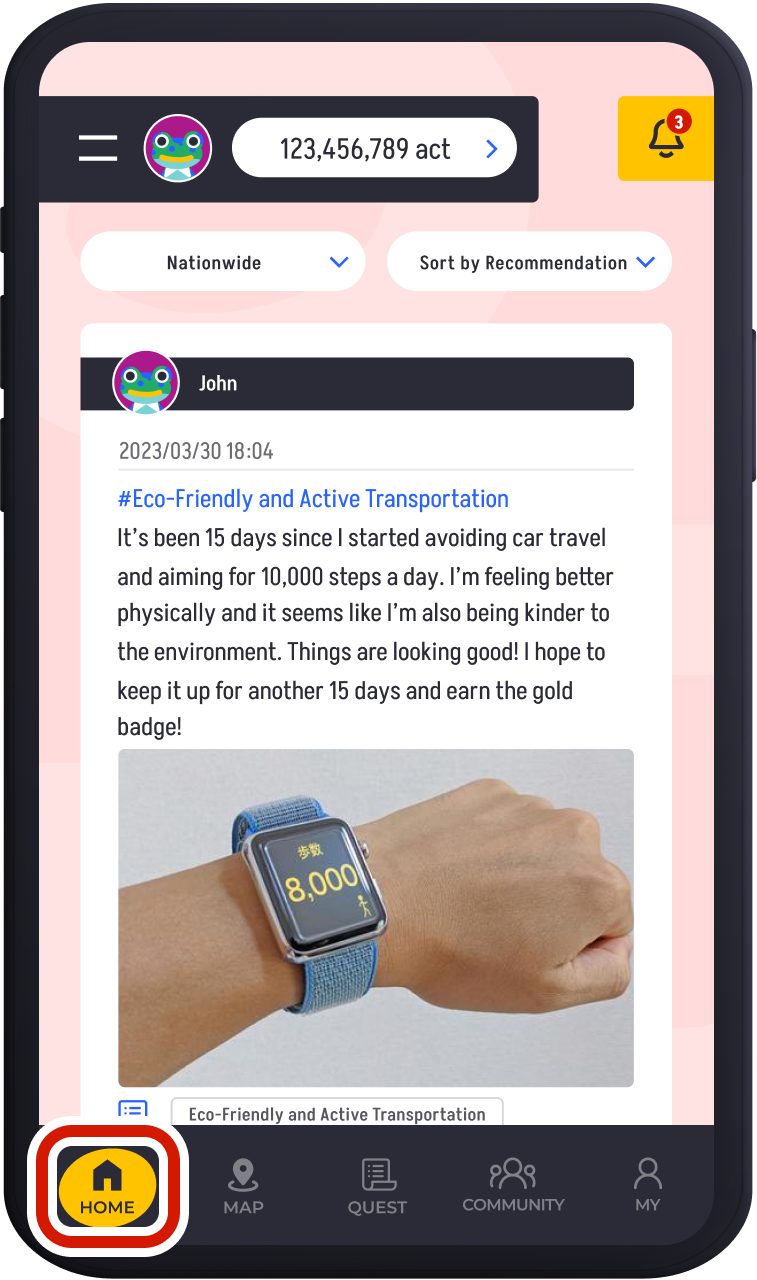
Tap “HOME” in the bottom footer.

You’ll see other users' posts on the Timeline. Use the sorting feature to change the display area and order.
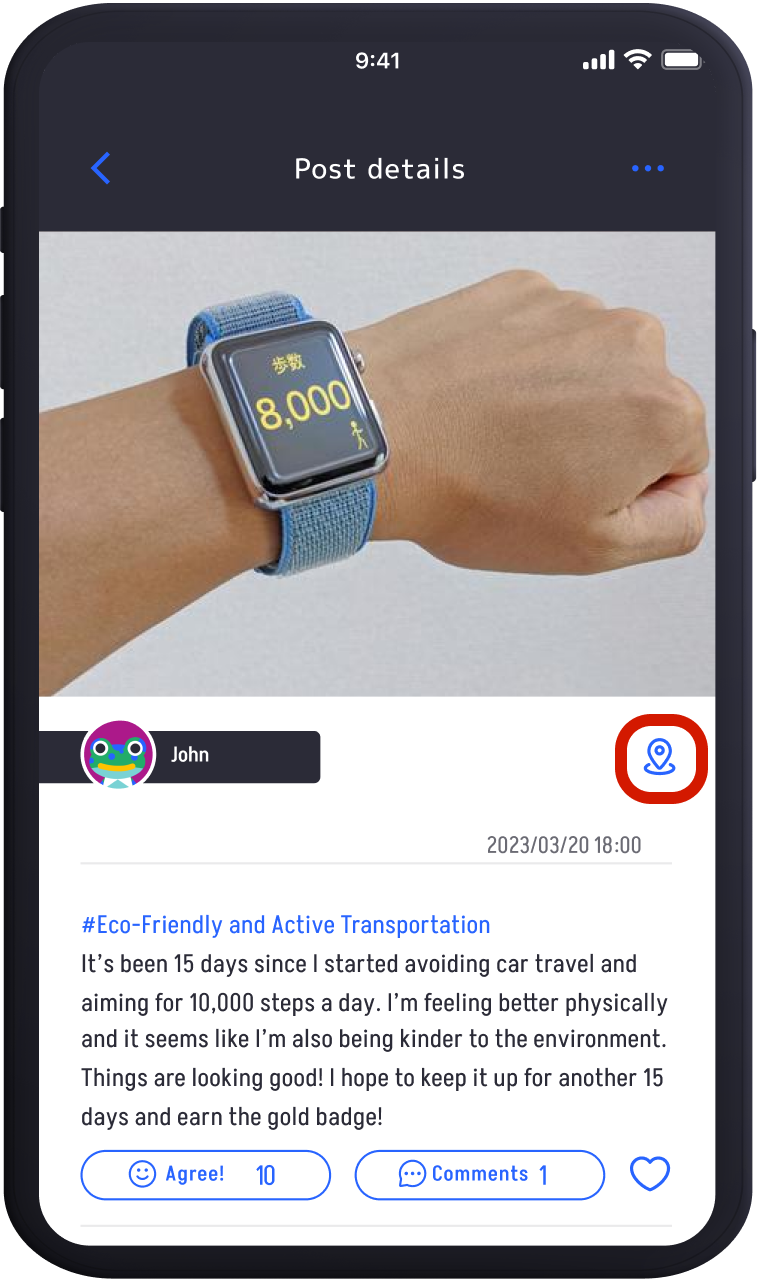
Tap on each post to view details. Tap the pin icon to check the location information of the post.
Tap on each post to view details. Tap the pin icon to check the location information of the post.
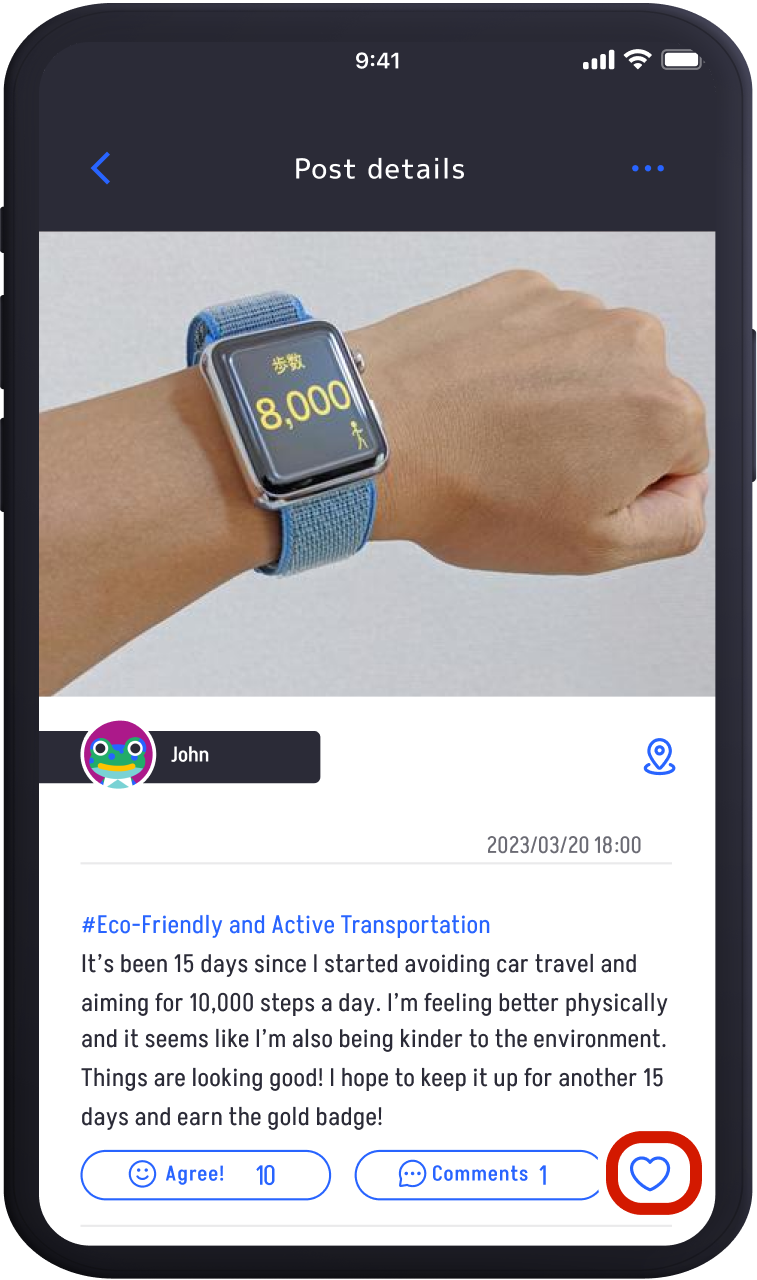
You can add posts to your favorites by tapping the "♡" icon. Favorite posts can be viewed anytime from the Favorites folder.
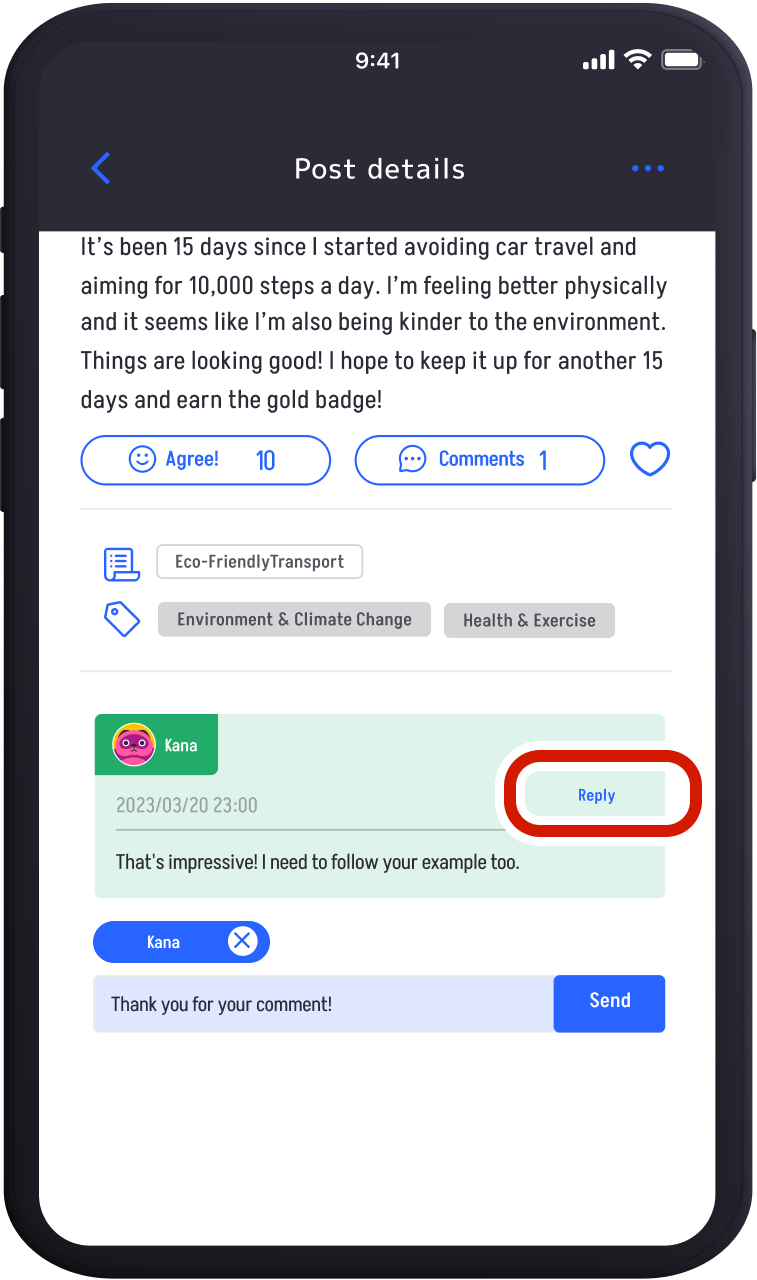
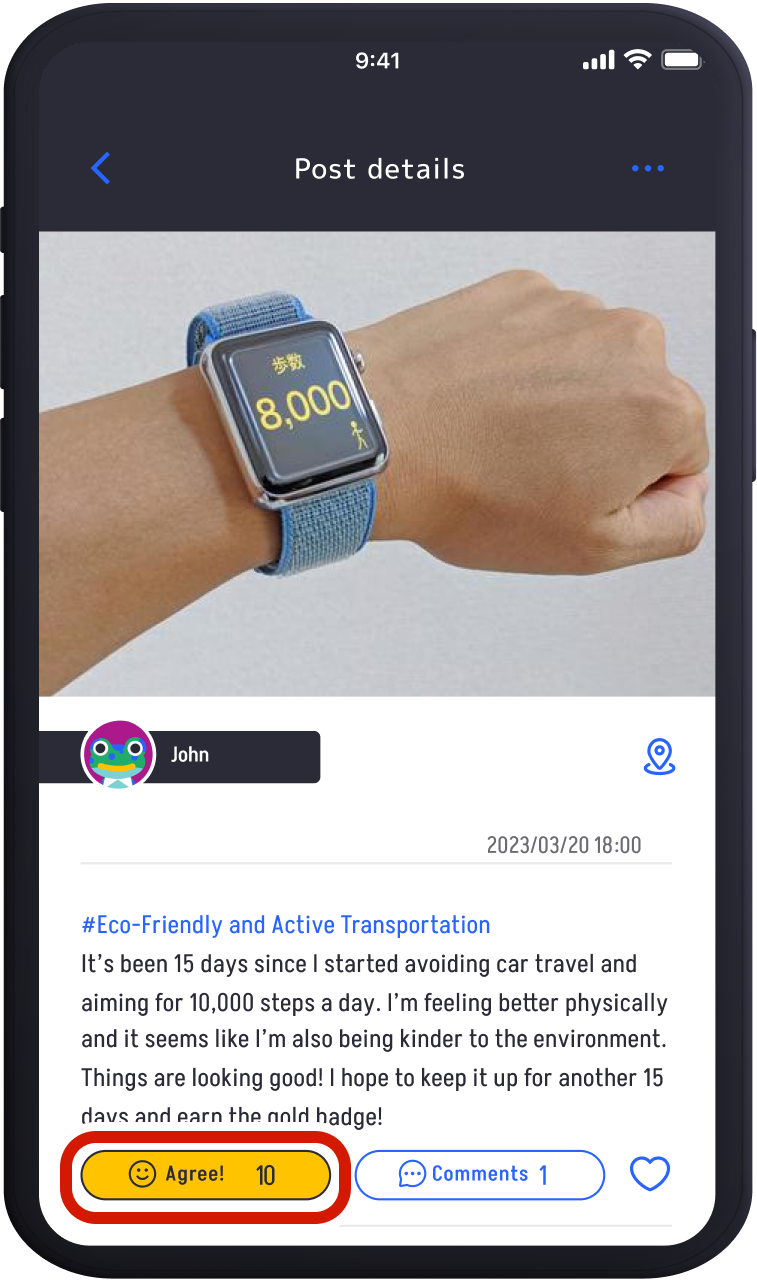
Tap "Reply" to respond to others’ comments.
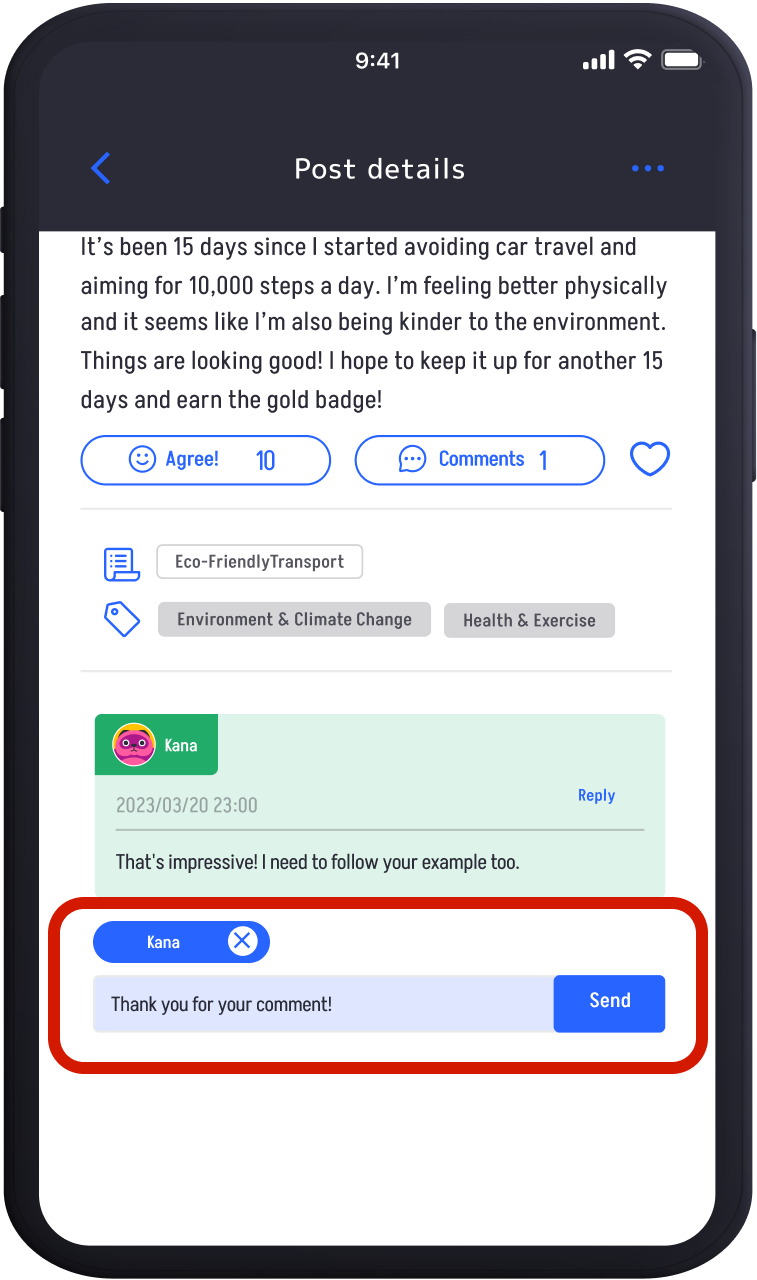
Enter your comment in the input field and tap "Send" to post a comment on someone else’s post.
Inviting Friends
Invite Friends and Family to Your Supported Community.Invite new members to your community and earn Community Support Points when they join and post quests. Both you and your invitees will receive points!
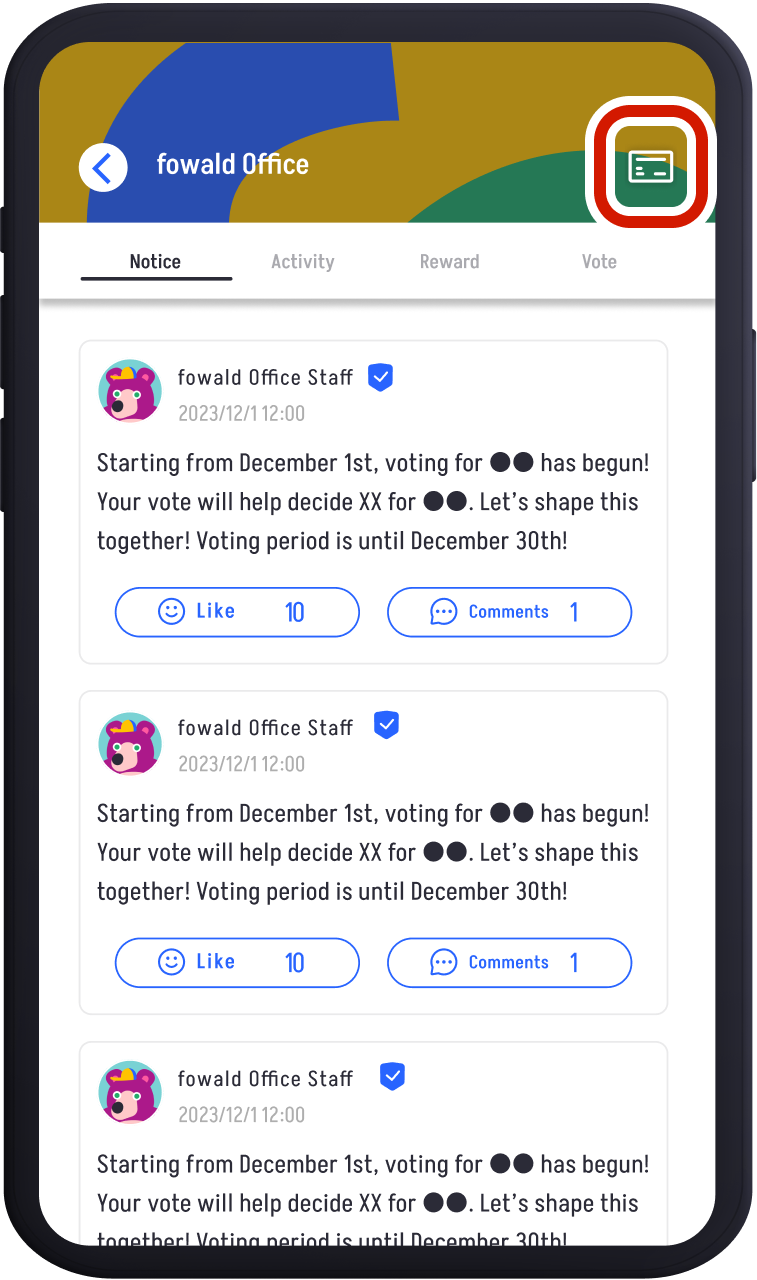
Tap the "Membership Card Icon" in the top right corner of the community screen.

Tap "Invite Friends and Family to This Community" under membership information.
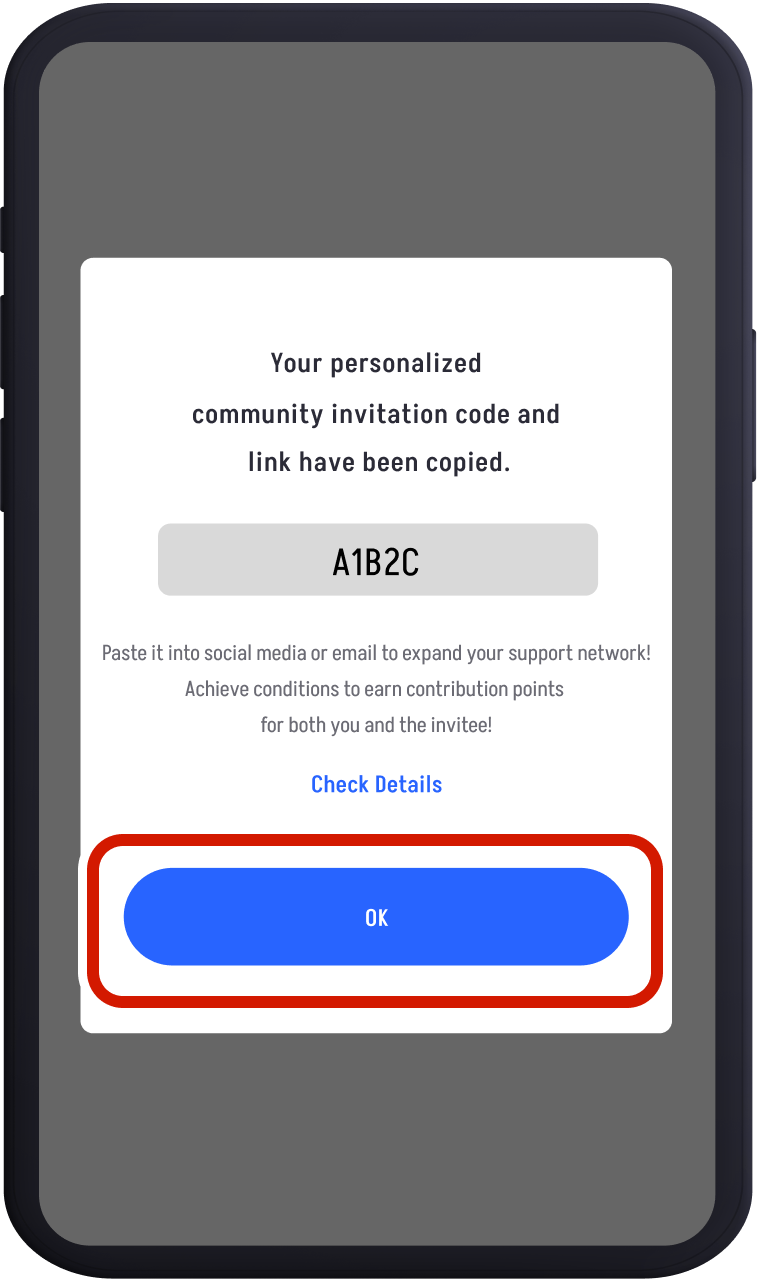
The invite code and link will be copied, so share them with friends and family via SNS or email.

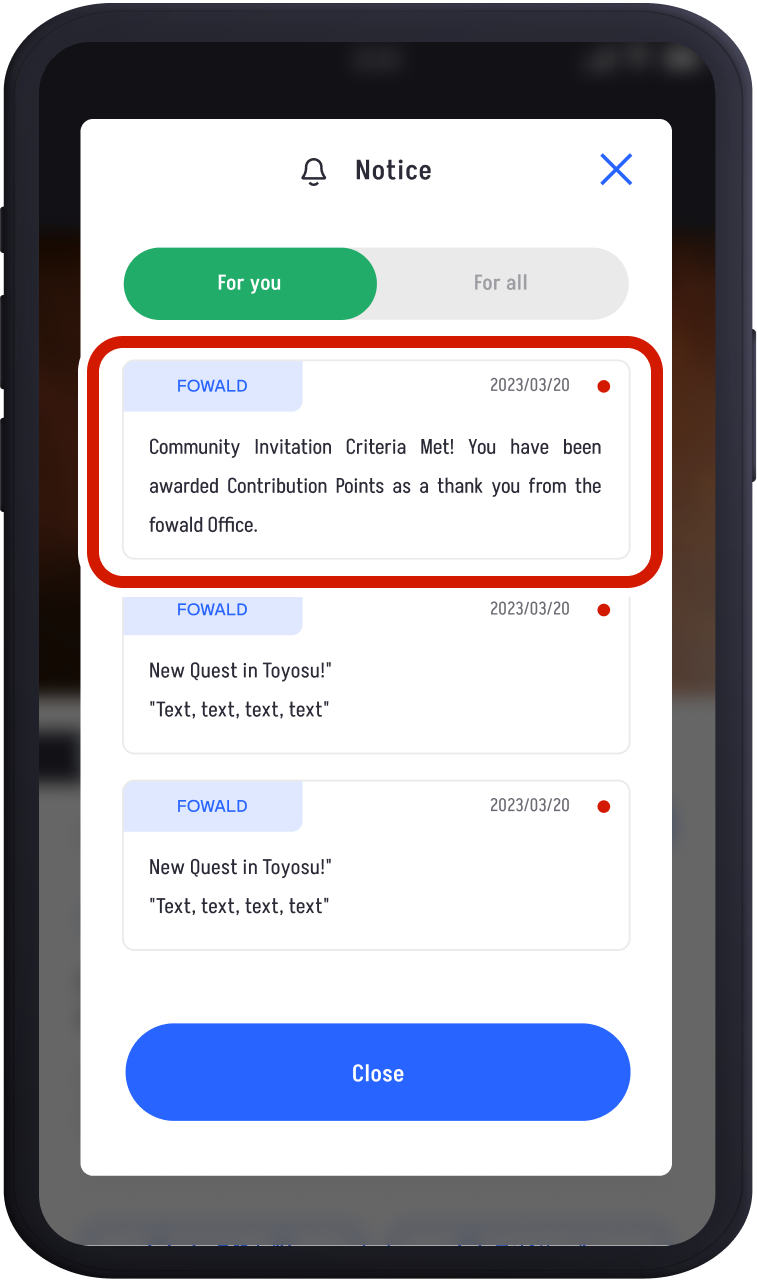
Once your invitee joins the community and posts to a quest, both you and the invitee will receive 200 points as a thank you
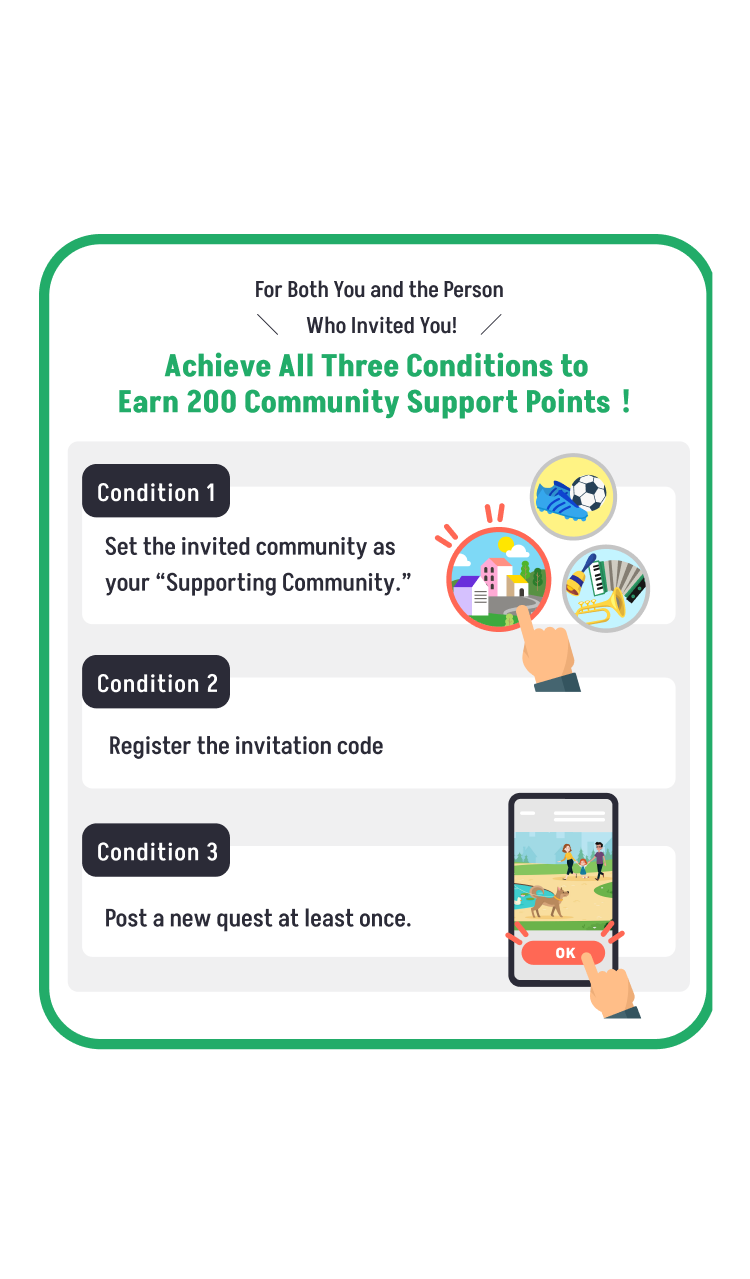
Being Invited by Friends
When you join a community and post to a quest, both you and the person who invited you will receive 200 points.
If you are downloading the Fowald app for the first time:

Tap the link received from your friend or family member to download the Fowald app and register an account.
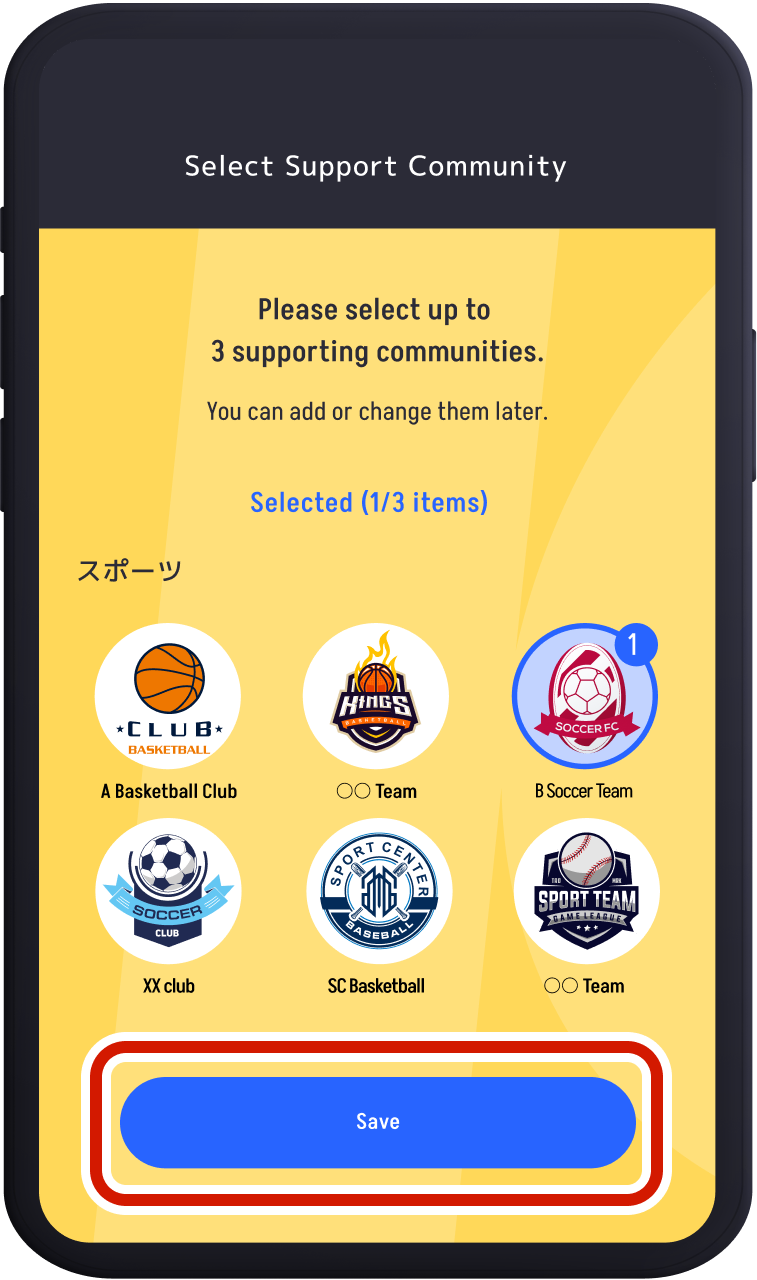
Set up the community you were invited to under "Select Support Community."

Set up the community you were invited to under "Select Support Community."
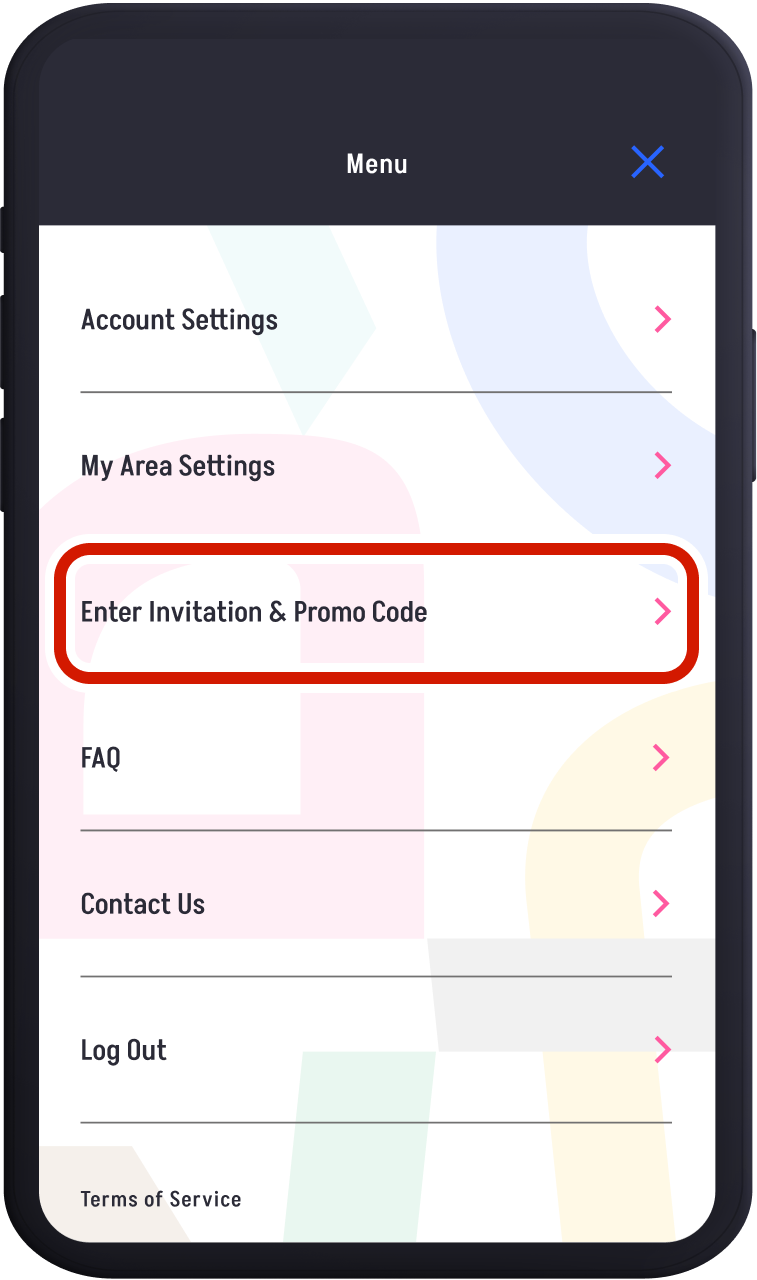
Tap "Enter Invite/Promo Code."
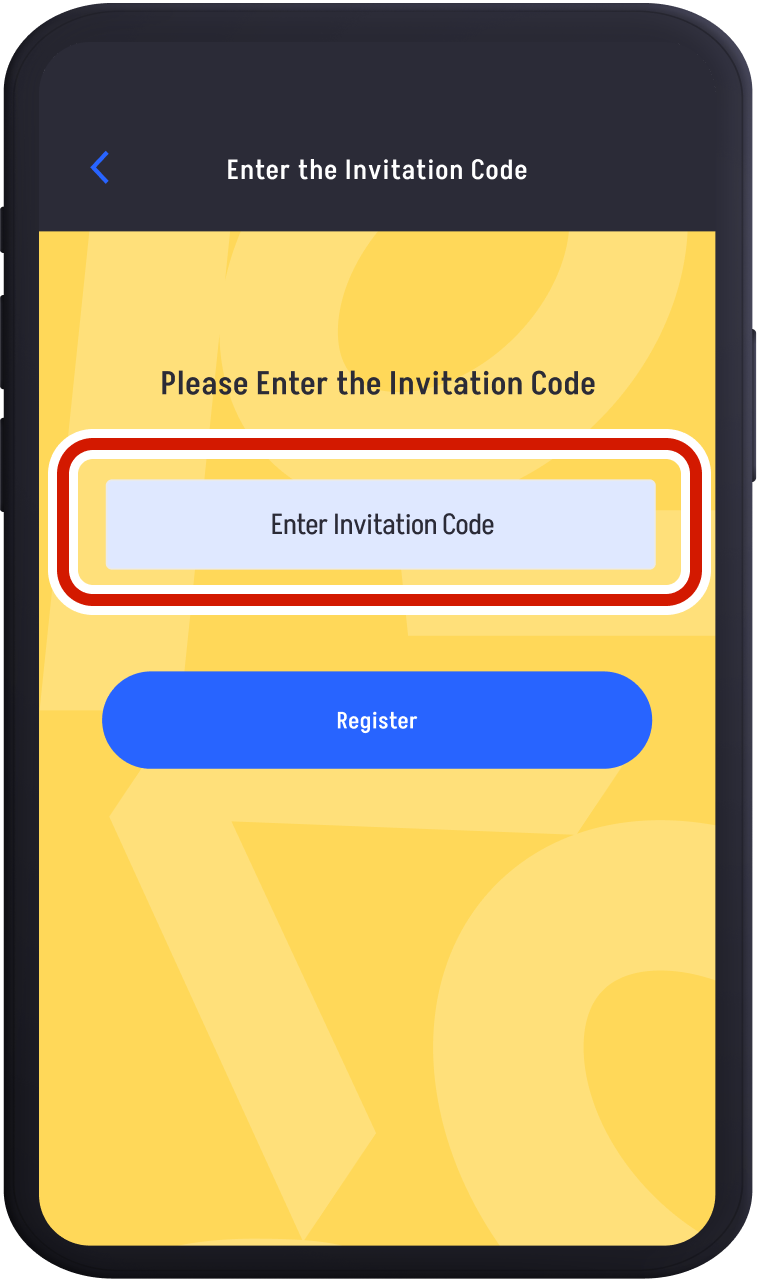
Enter the "Invite Code" you received from your friend or family member and tap "Register."
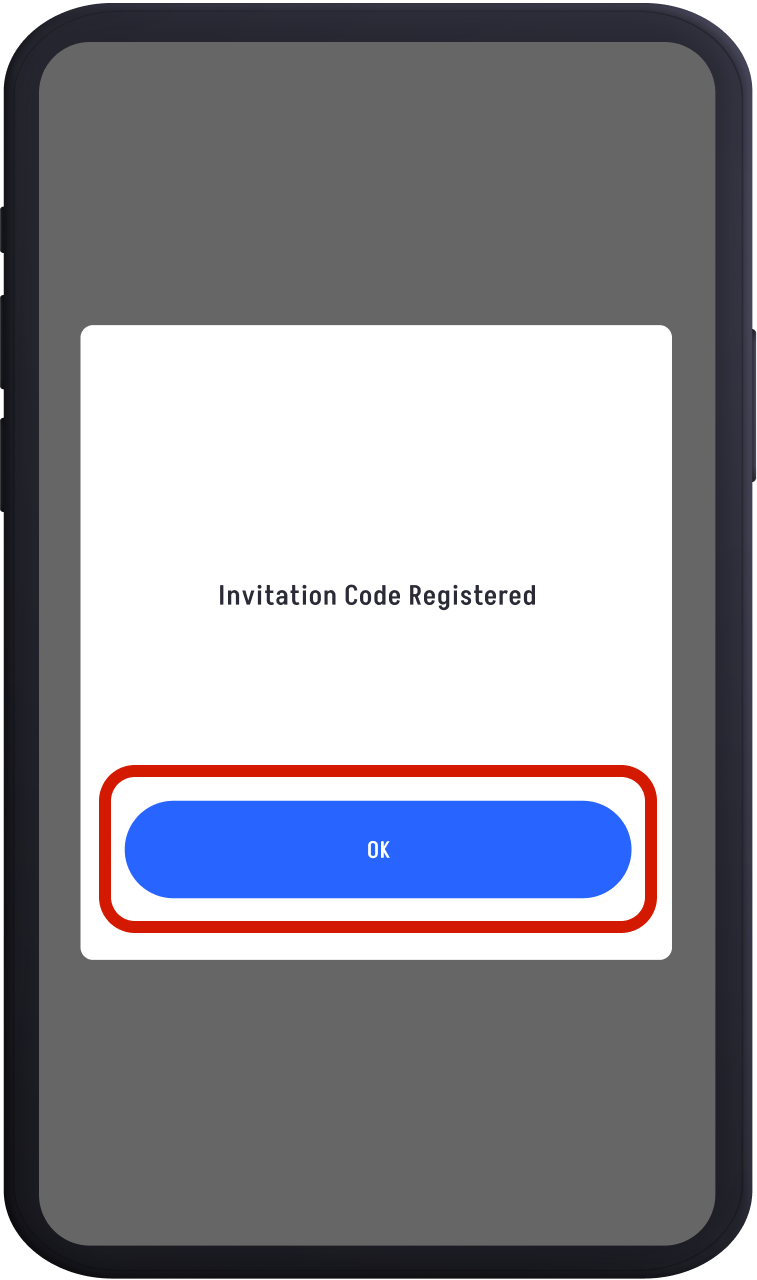
If the code is valid, you will see "Invite Code Registered." This completes the registration.
If the code is valid, you will see "Invite Code Registered." This completes the registration.
If you already have the Fowald app downloaded:

Tap the link received from your friend or family member to launch the Fowald app.
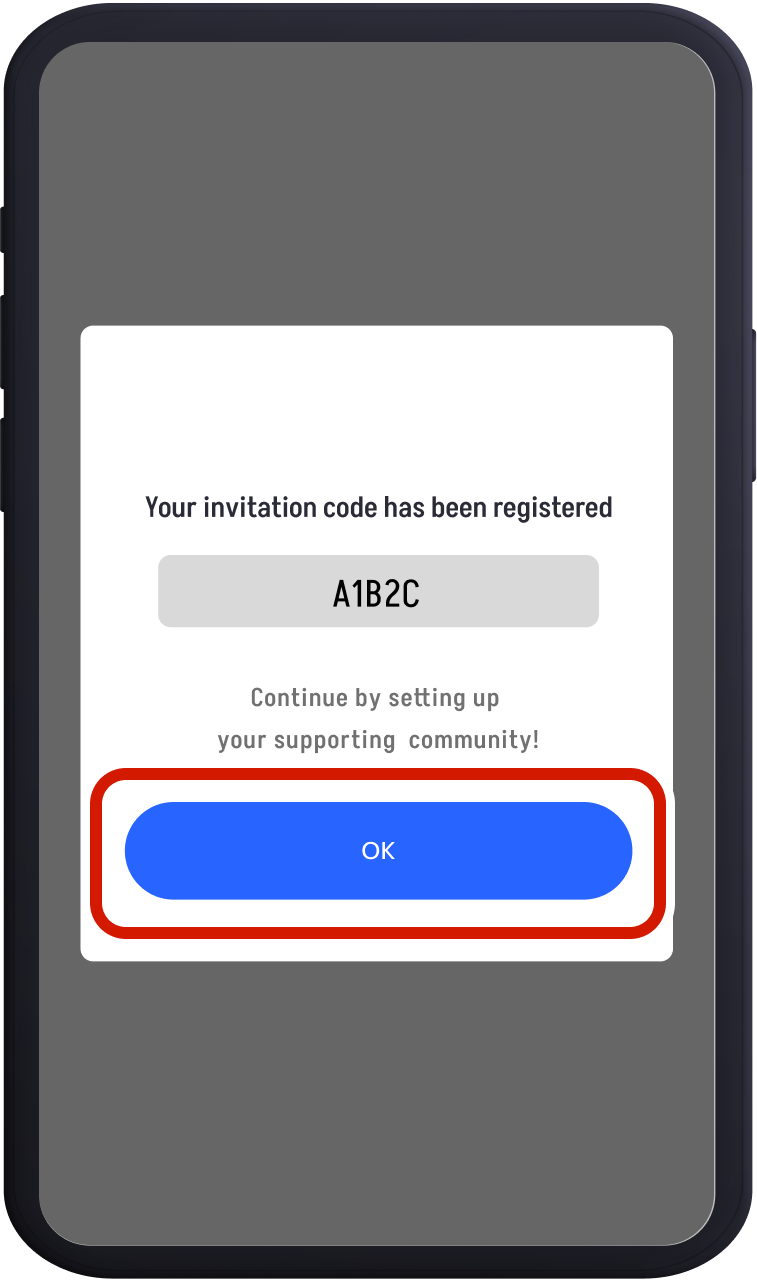
If the code is valid, you will see "Invite Code Registered." This completes the registration.

Next, set up the community you were invited to under "Select Support Community."

Choose your favorite quest and make at least one post. Later, both you and the person who invited you will receive 200 points as a thank you.
Earning Rewards
To earn rewards for the community you support, increase your rank by accumulating Community Support Points through quest posts and inviting friends. Here’s how to claim your rewards:

Tap the "Rewards" menu in your supported community to view available and upcoming rewards under the "Not Claimed" tab.
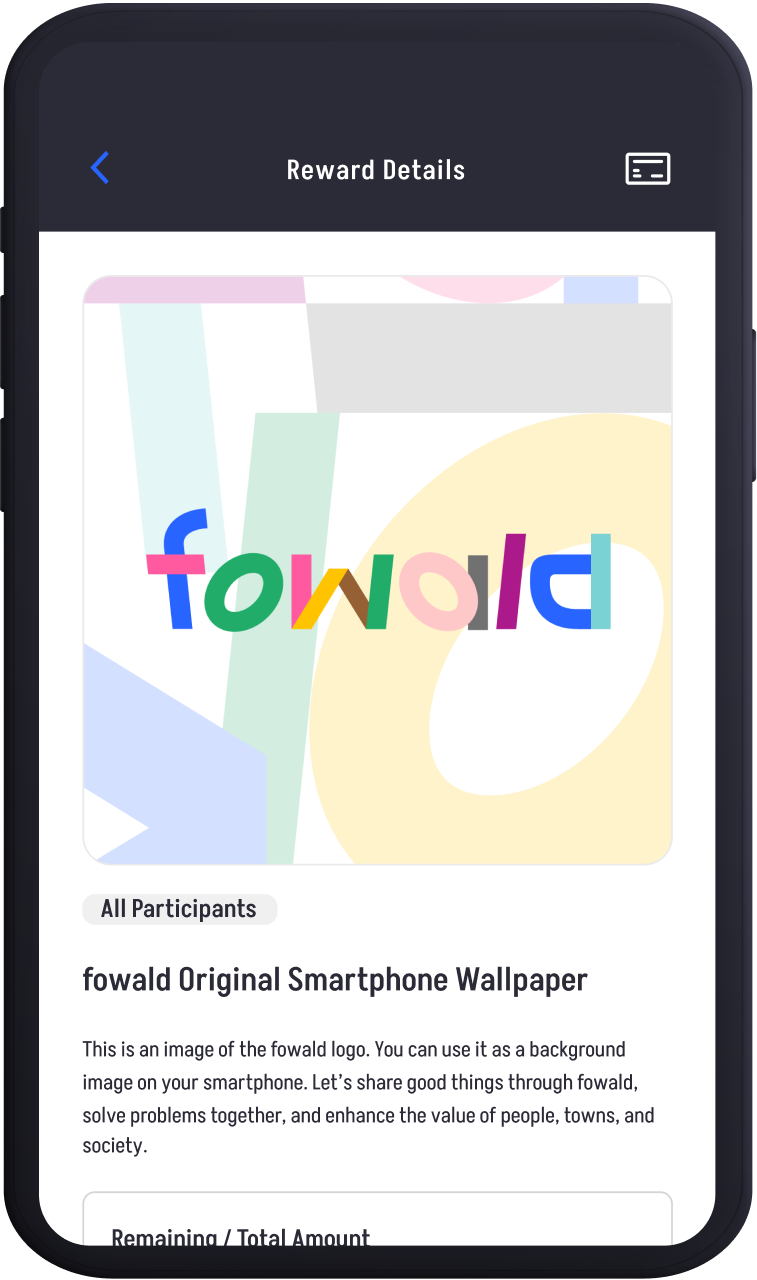
Tap on the reward you’re interested in to see the details. Rewards may be distributed via lottery or on a first-come, first-served basis. Please read the notes carefully.
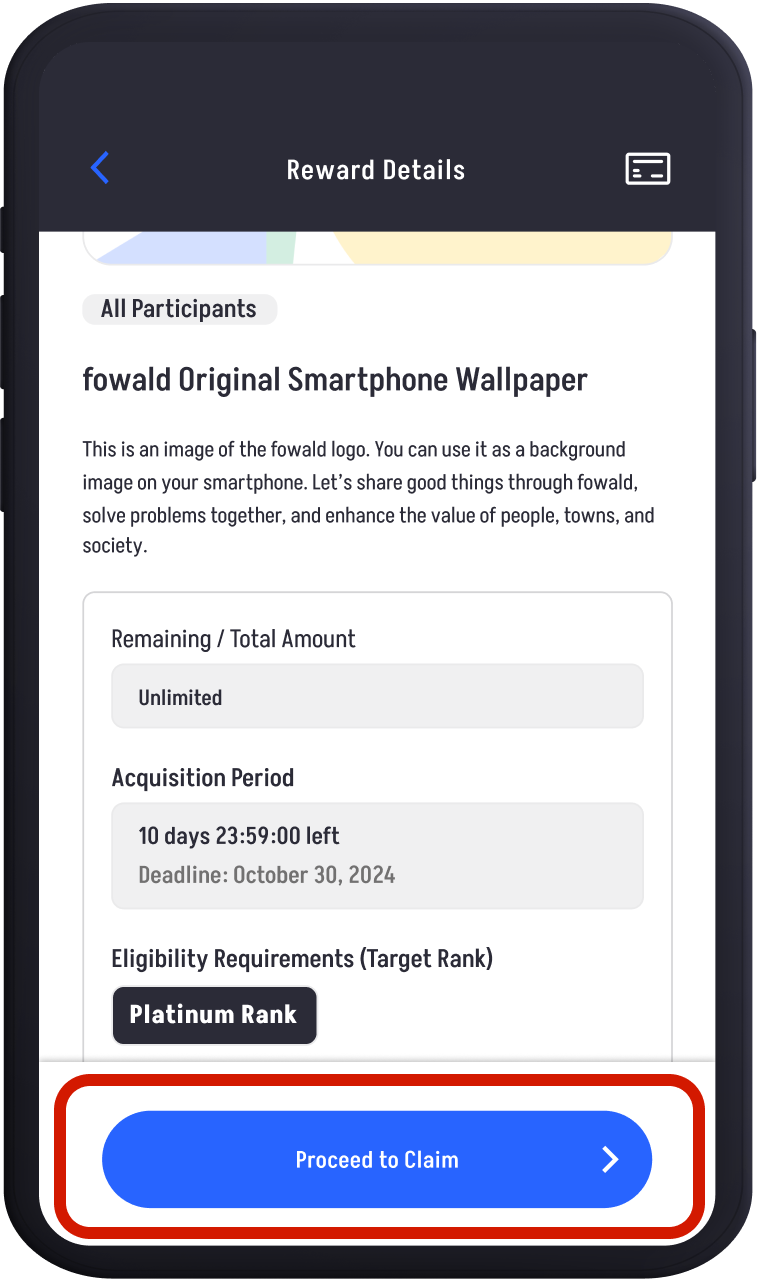
If you meet the requirements for a reward, you will be able to tap "Proceed to Claim" or "Proceed to Entry."
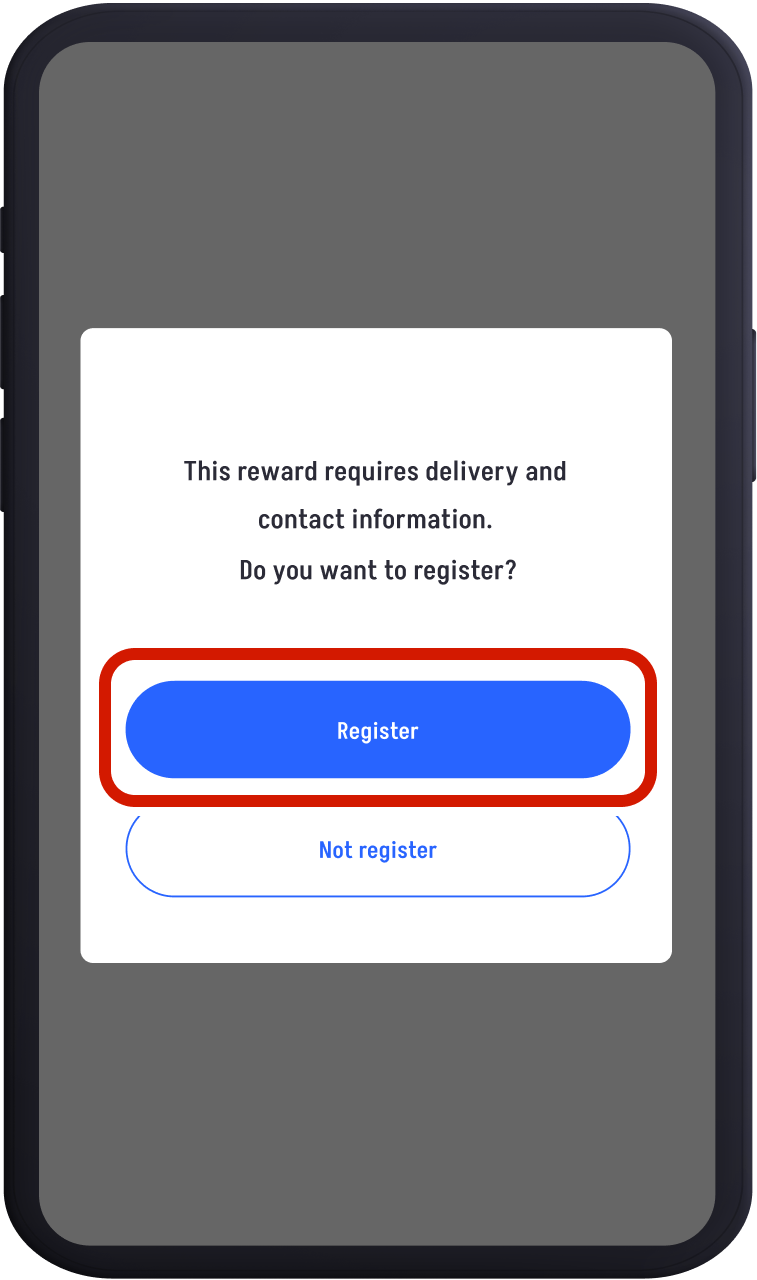
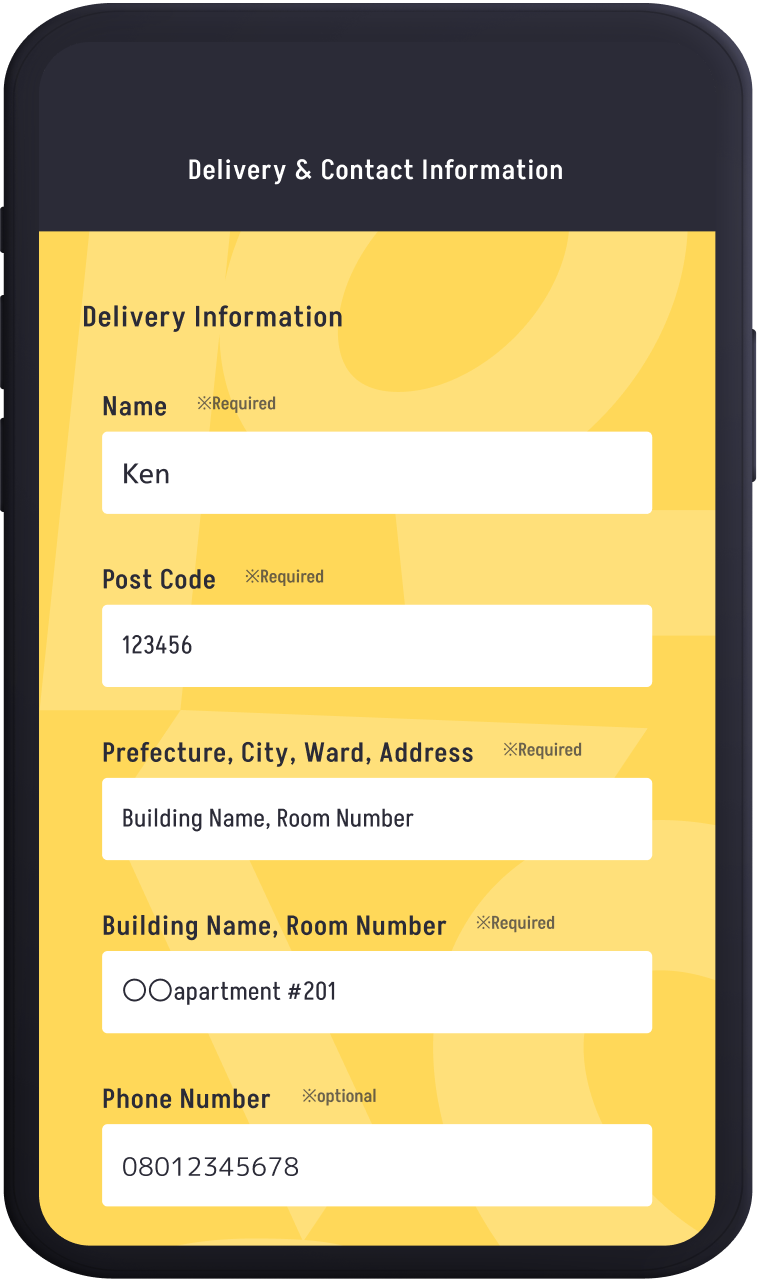
You may need to enter your delivery information and contact email address.
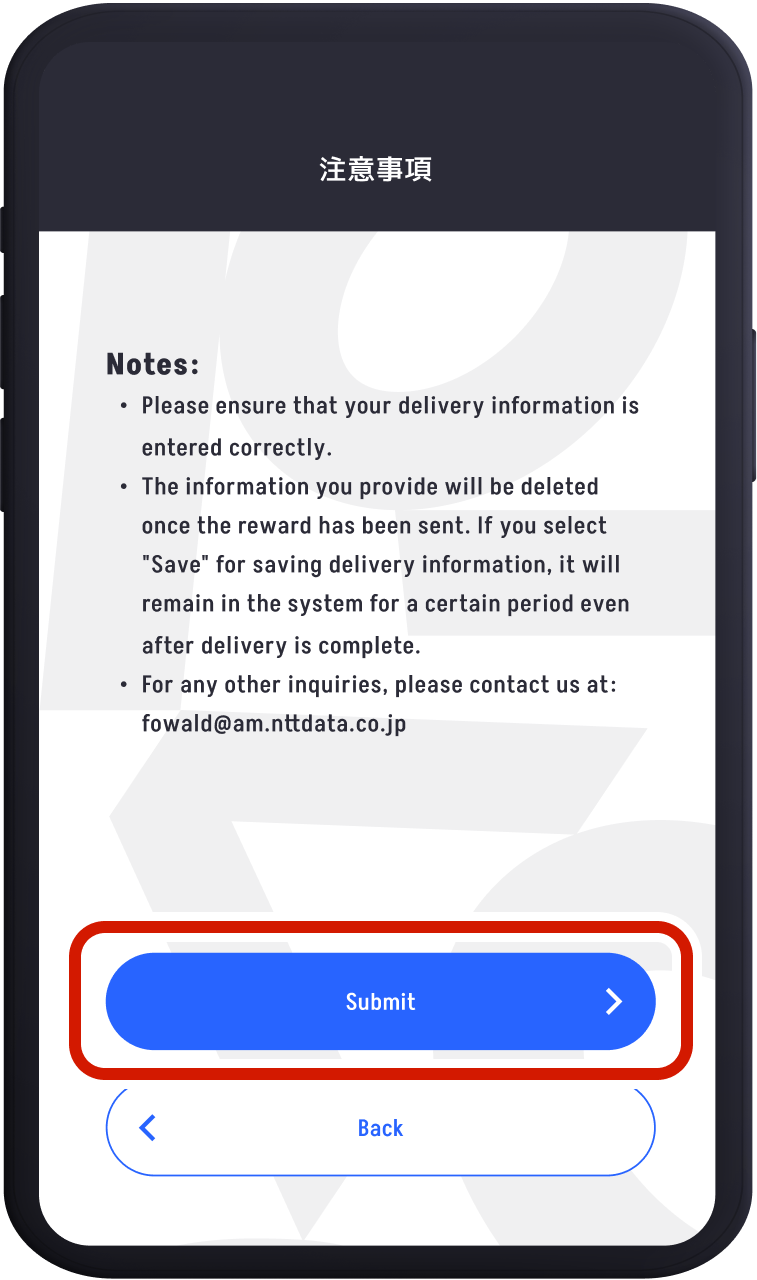
If required, read the notes carefully and enter the necessary details.Confirm that all information is correct.
Once you have completed the registration, a confirmation email will be sent.
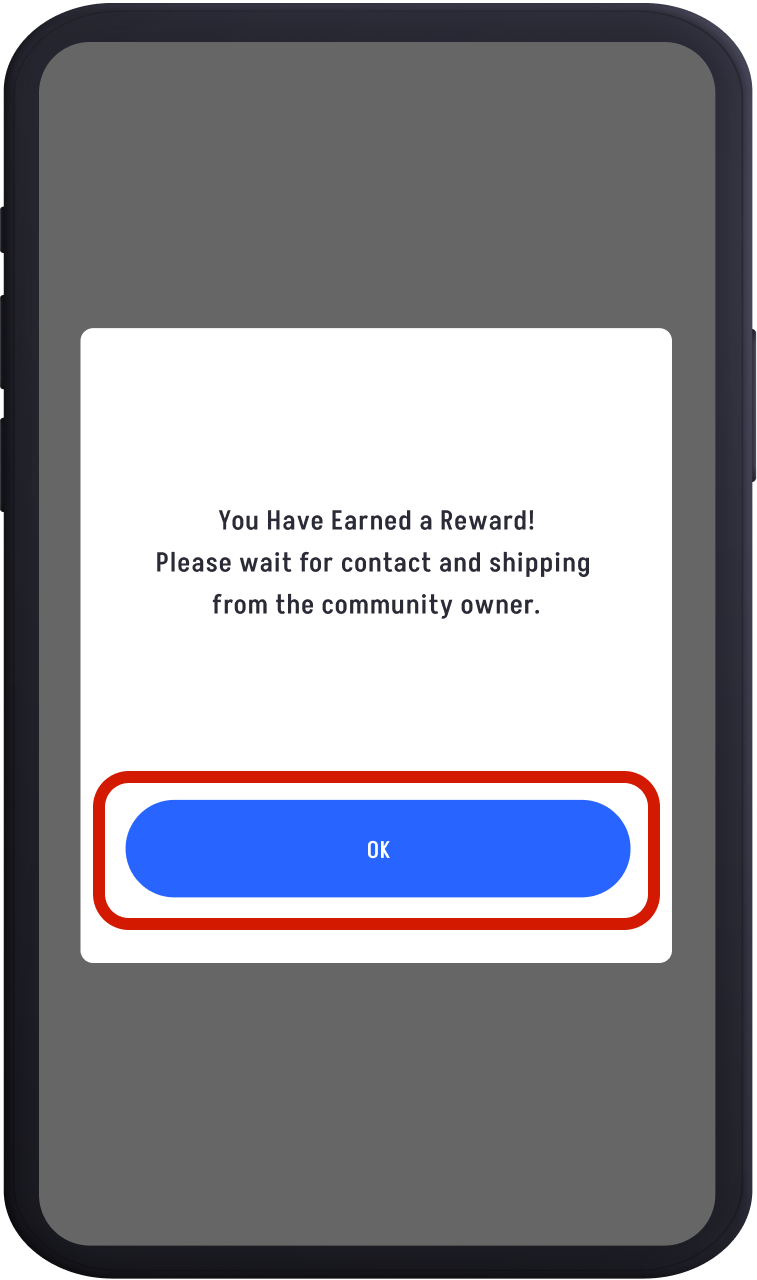
After completing the process, your reward claim or entry will be finalized. Please wait for contact and shipping from the community owner.
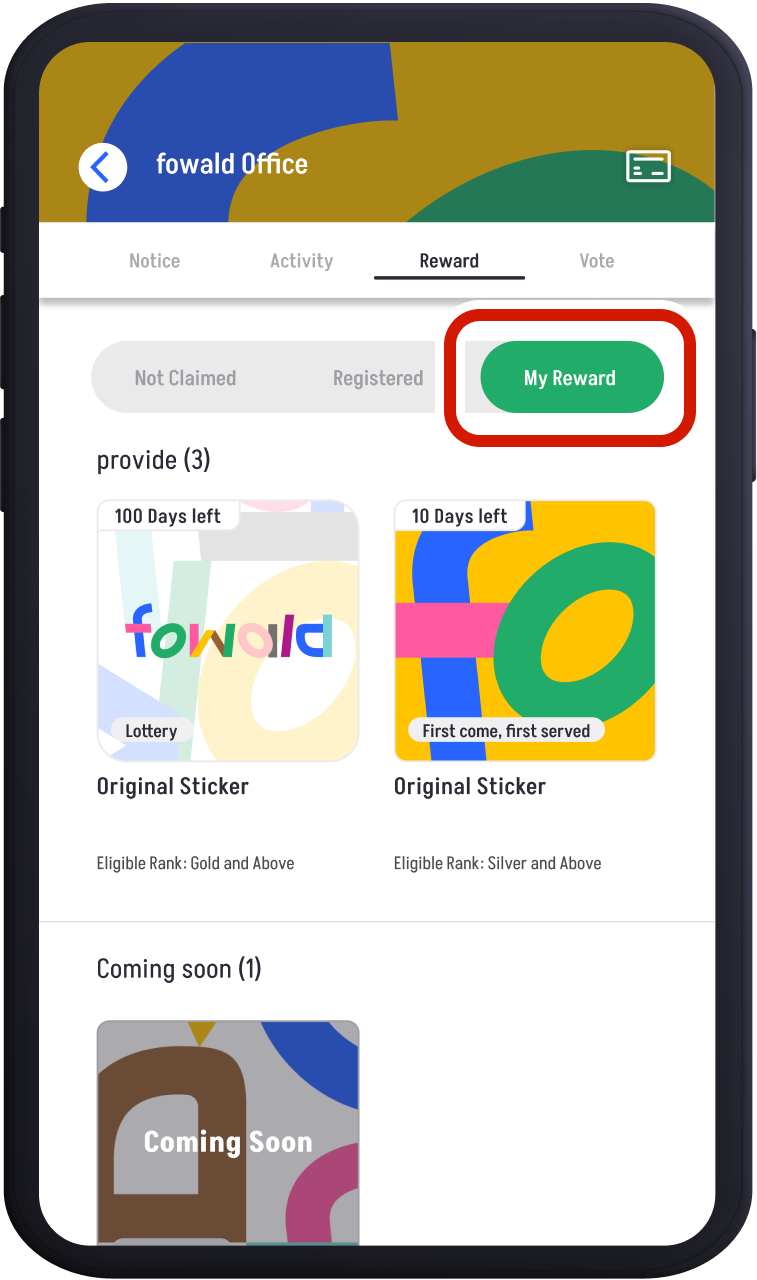
You can check your claimed rewards by tapping the "Rewards" menu and selecting the "My Rewards" tab.
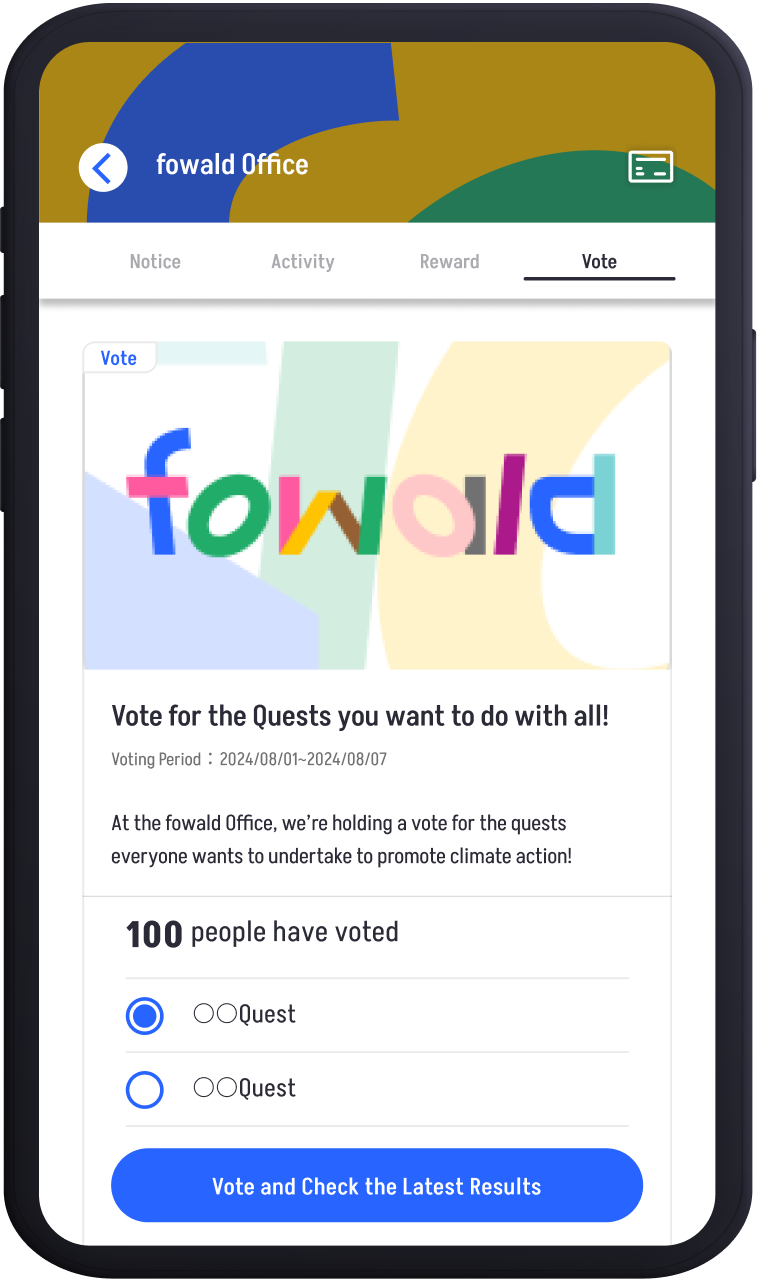
Participating in Voting
You can participate in votes hosted by the community you support. Cast your vote and contribute to the community’s activities.
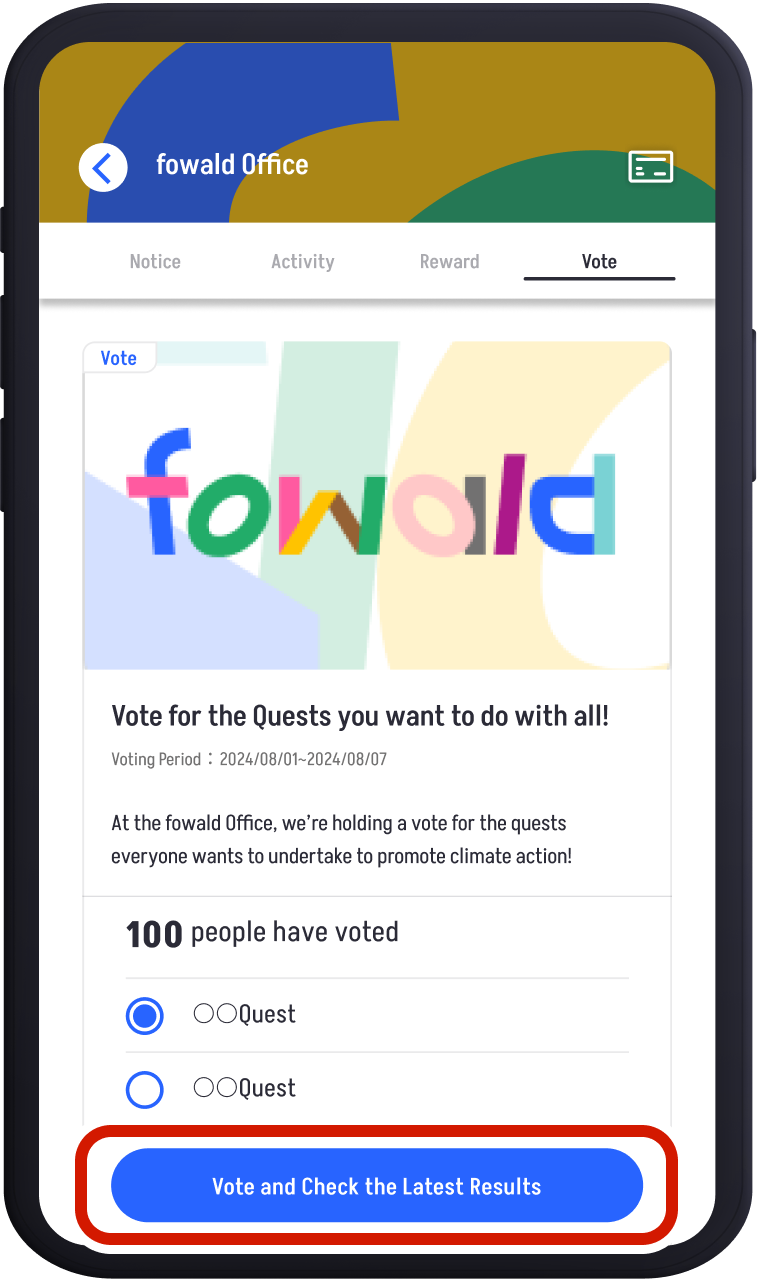
Tap the "Vote" menu in the supporting community. Select the option you wish to vote for and tap "Vote and Check the Latest Results!"
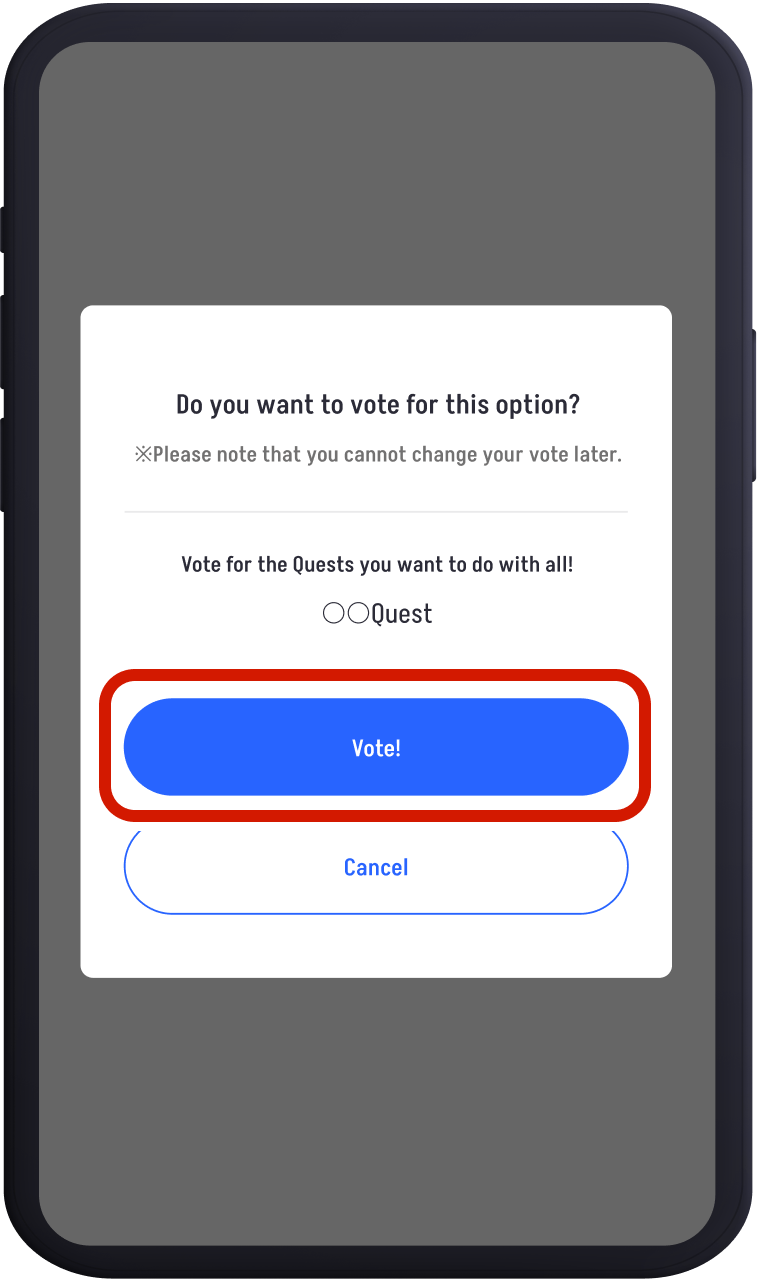
Review the content of your choice and tap "Vote!" to complete your vote.
You can view the results, including your vote.


 Detailed Guide to the App